|
|
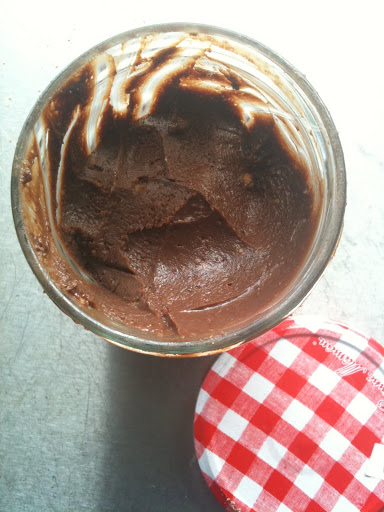
| Not the most amazing pic but it’s real life home made Nutella-type spread in a jar, look! |
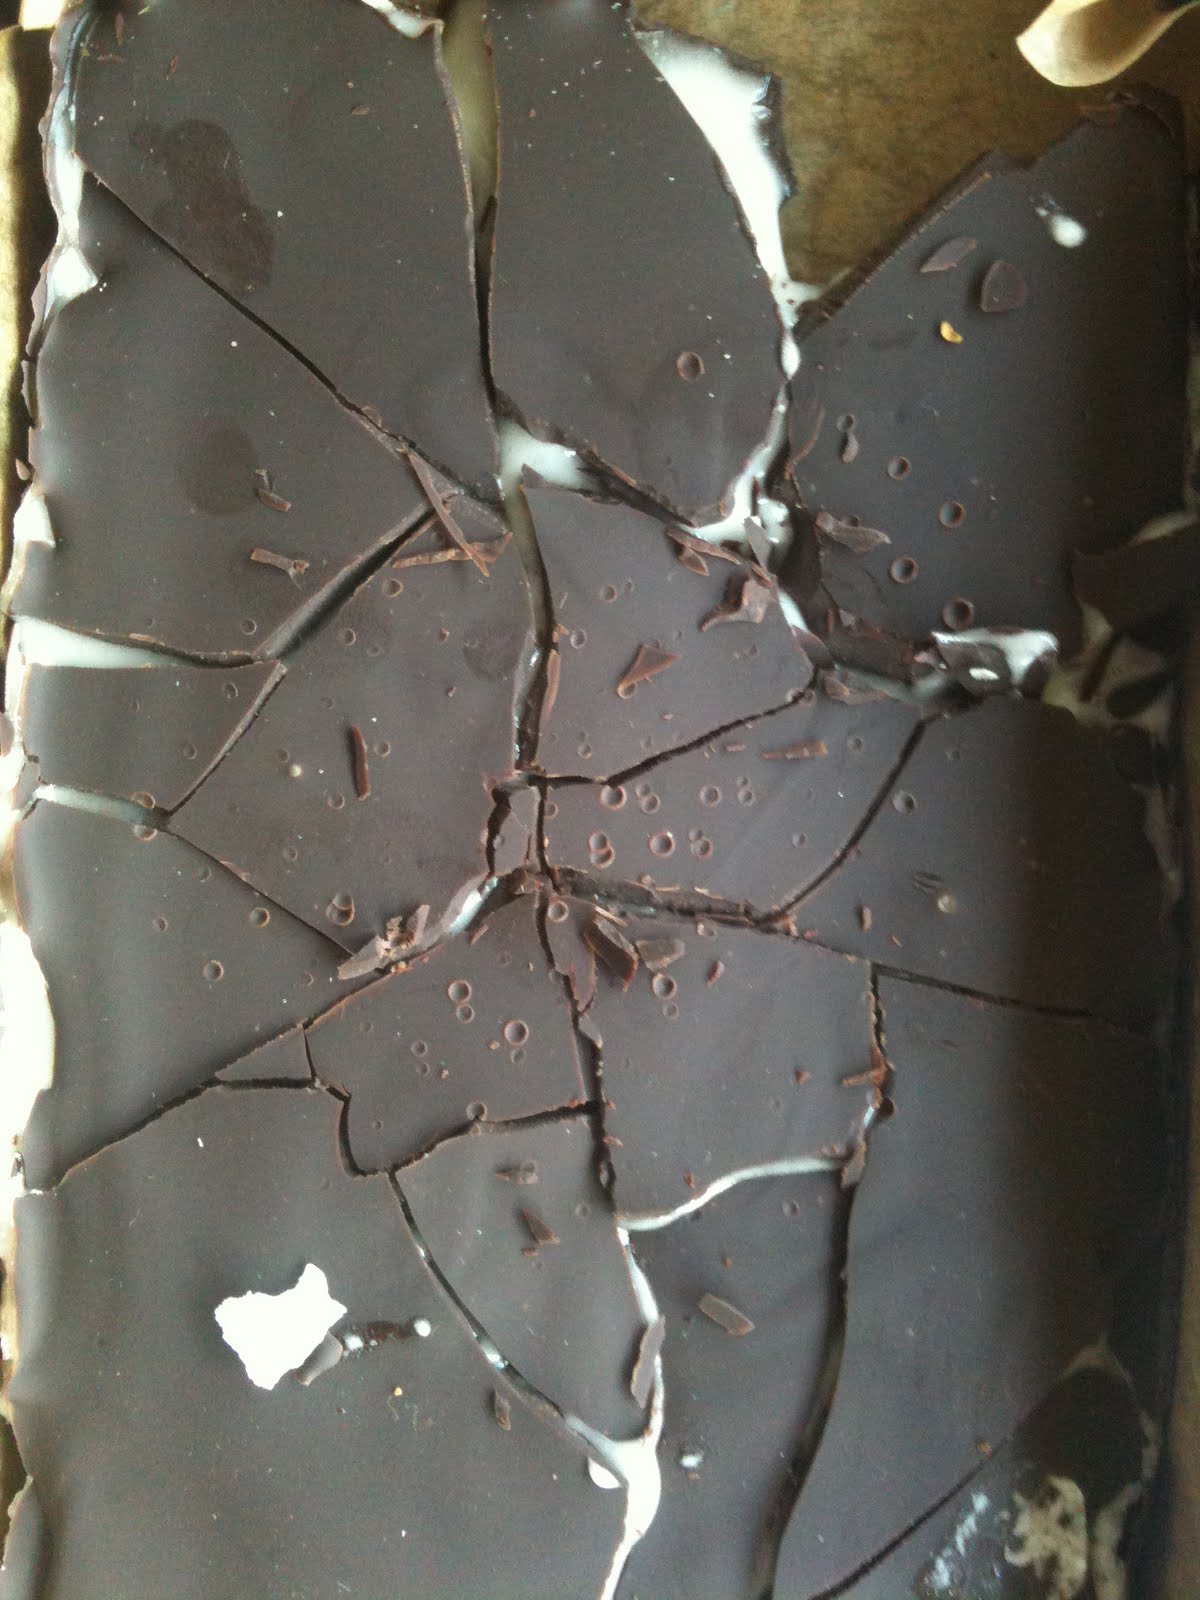
I know this doesn’t look good; two consecutive posts concerning chocolate. There is tons of other stuff I could be writing about, I’m just not very fired up about them though. And as this is a blog, and I’m not being paid, it has to be a bit enjoyable for me.
In Italy Nutella comes in glass jars you can use, when you’ve scoffed the lot, as glasses to drink out of. They come in pretty patterns. I think you could get them here at one point too, but I don’t see them anymore.
I used to eat Nutella out of the jar, on a spoon. I can’t believe this now as I find it quite disgustingly sweet. The ads sell it to you as having slow release energy thanks to the 1.5 hazelnut you get in every serving…we have Nutella in our house but I loathe it now. It’s laden with sugar.
So when I saw Annie Rigg’s book about Edible Presents and saw there was a recipe for Chocolate and Hazelnut spread in it, I jumped.
You probably can do this without a food processor, but I don’t.
Makes 1x 450g jar
75g blanched hazelnuts
100g 70% cocoa chocolate
100ml condensed milk
1-2 tablespoons of hazelnut oil
a pinch of salt
3-4 tablespoons of hot water (if you even need this much)
The recipe asks for you to use sterilised jars. I use them straight out of the dishwasher, if it’s good enough for Nigella, it’s good enough for me.
Toast the hazelnuts; you can do this in an oven or in a dry frying pan. Until they’re golden. Cool slightly and then grind to as smooth a paste as you can get in your food processor.
Melt the chocolate, condensed milk and hazelnut oil, very gently, in a saucepan. When the chocolate has melted and it’s all mixed up nicely, pour this into the food processor, add the pinch of salt (I always use ground up rock salt in sweet things) and blend. Add as much hot water as you need to give it a thick, spreadable consistency. Don’t panic if, like me, you see it has gone really runny. It firms up in the fridge. That said, you shouldn’t overdo it, I’m just saying don’t go into a tizz if you have (you can always use it as super luxurious ice cream topping if it does go wrong).
Spoon into a jar and keep in the fridge. Rigg says it keeps for up to two weeks. I doubt it will last that long.
Now, I didn’t want to interrupt the recipe further up, with my tales of hazelnut essence, but I bought some from Bakery Bits. I was wary because, unlike the excellent other ‘essences’ I have from there (Aroma Panettone and Aroma Veneziana are exceptional) which have natural oils in them, the ingredients listed seemed decidedly un-natural. Stupidly I thought it was like extract of hazelnut or something (this is probably impossible to do). Anyway, the jury’s out on whether it’s nice or not but my verdict is: disappointing. Its aroma is rather synthetic and artificial. I liked it at first, but you need to go really easy on it as it can become very overpowering; and I’m not sure I’d use it again. My partner’s nose is far more sensitive and he found it overwhelming.
This recipe doesn’t call for essence of any kind, but because I had it I added a few drops – about four. My seven year old loves this spread but says it’s too ‘hazelnutty’ which is probably accurate. I think this essence is good for when you really need to convey ‘this is made of hazelnuts’ without actually adding that many real nuts and that isn’t the case for this spread, or anything I’m likely to make.
This spread is, anyway, delicious and whilst still not a health food, is a damn sight healthier than shop-bought.
 |
| Mmmmm. Eat on toast, or on a croissant or straight out of the jar with your fingers. |