As some of you know, I am the Guardian’s Chocolate Correspondent. My column comes out once a month on the last Wednesday of the month. I have a lot of chocolate in my life but I eat it modestly. And when I’m not testing I only eat chocolate that’s over 85% cocoa content.
Thing is, there’s not a huge amount out there that’s 85% with any sort of inclusions (bits in it) and I do like inclusions. So I decided to make my own.
You don’t need any special equipment and this recipe is infinitely adaptable but this is what I do.
200g of good chocolate. I use 85-100% cocoa but of course you use what you want
100g of almond butter
100g of inclusions. I use quinoa puffs, nuts, a few raisins, you get the idea. You get the idea. 20g of quinoa puffs is plenty incidentally, as any more and the bar will be overwhelmed. I don’t recommend puffing your own quinoa just buy ready made.
Orange zest – this elevates the entire chocolate into something wonderful.
Measure out the chocolate and the nut butter into a bowl that can sit atop a sauce pan of simmering water. Don’t let the water touch the underside of the bowl. Stir and take the bowl off the saucepan (be careful not to burn your fingers) before the chocolate is completely melted – when some of the pieces are starting to lose their shape and some of the chocolate is already melted. Continue stirring whilst off the heat.
If you find you’ve taken the chocolate off too early then just pop it back on top of the hot water (turn the heat under the saucepan off). When all the chocolate has melted down stir in the inclusions until everything is well coated and then pour into the base of a tin. I use a 3lb loaf tin lined with baking parchment. Put in fridge for about an hour. I keep it in the fridge there after. Slice into pieces and enjoy.
There’s nothing to stop you halving this recipe but obviously use a smaller loaf tin.
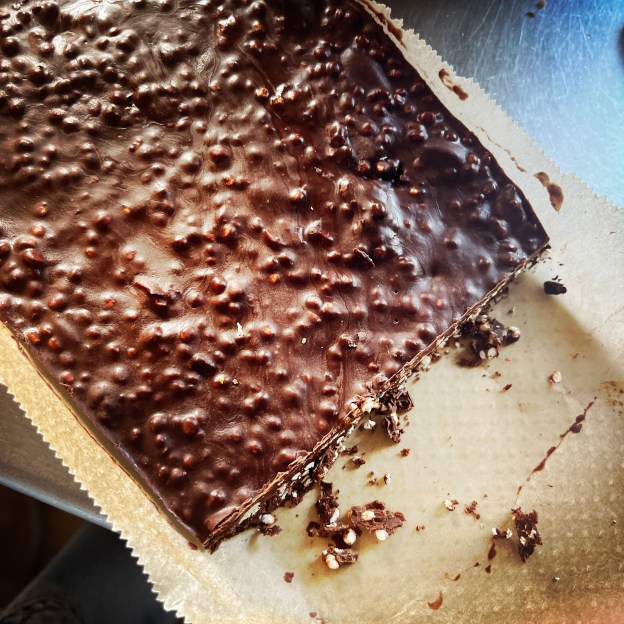
A very high cocoa content chocolate bar, with inclusions, that you make yourself.
Leave a reply