Monthly Archives: May 2013

Honey roasted cherry tomatoes. A thing of glory.

IMG_0763


One of the things you should know about me and this blog, is that whenever I’m on a particular deadline, something hard and difficult, I write a blog post. So when people ask me, as they do “how do you find the time to blog?” it’s because I am nearly always avoiding doing something else and that something else is nearly always writing An Actual Piece.  All the professional writers I know have vast, varied, and sophisticated procrastination techniques. For me, if it’s not writing on this blog, it’s ironing or cooking or baking.

I turn to a write a blog post when I’m just about to start writing that actual piece. The last bastion of procrastination, when I’ve ironed everything that shows even a weak crease, baked up all the flour in the house into something cakey and menu planned the dinners until Christmas. So in that respect it’s like a warm up: a gentle stretching of a muscle that’s about to be really hammered in the main event. I like to think it serves a useful purpose.

My partner doesn’t quite see it like that. Living with a writer isn’t easy. It’s all “I’m on DEADLINE I’M ON A DEADLINE. DON’T DISTURB ME DON’T TALK TO ME I’M IN MY MENTAL SPACE” and then we faff and fuck about until suddenly, miraculously, the words spill out, via our fingers, onto the screen.

(n/b: the worse thing you can say to a writer is: just get on with it. This is like saying to your male sexual partner: just get an erection.)

Until that moment comes. Here I am talking about tomatoes. This recipe is from Hugh Fearnley-Whittingstall’s River Cottage Veg Every Day. You may have the book. And you may have missed this unassuming, but actually vastly useful recipe. These make a great lunch: on toast, under a poached egg, or in a recipe that I will post next week (when I’m on my next deadline) which is a spin on what is really a very boring salad called tricolore. We try to make these when the oven is already on, and even if you don’t eat them immediately, they keep brilliantly for a few days in the fridge and just take minutes to warm up.

IMG_8499

I’m sure you don’t need me to tell you to augment or reduce the recipe according to your needs.

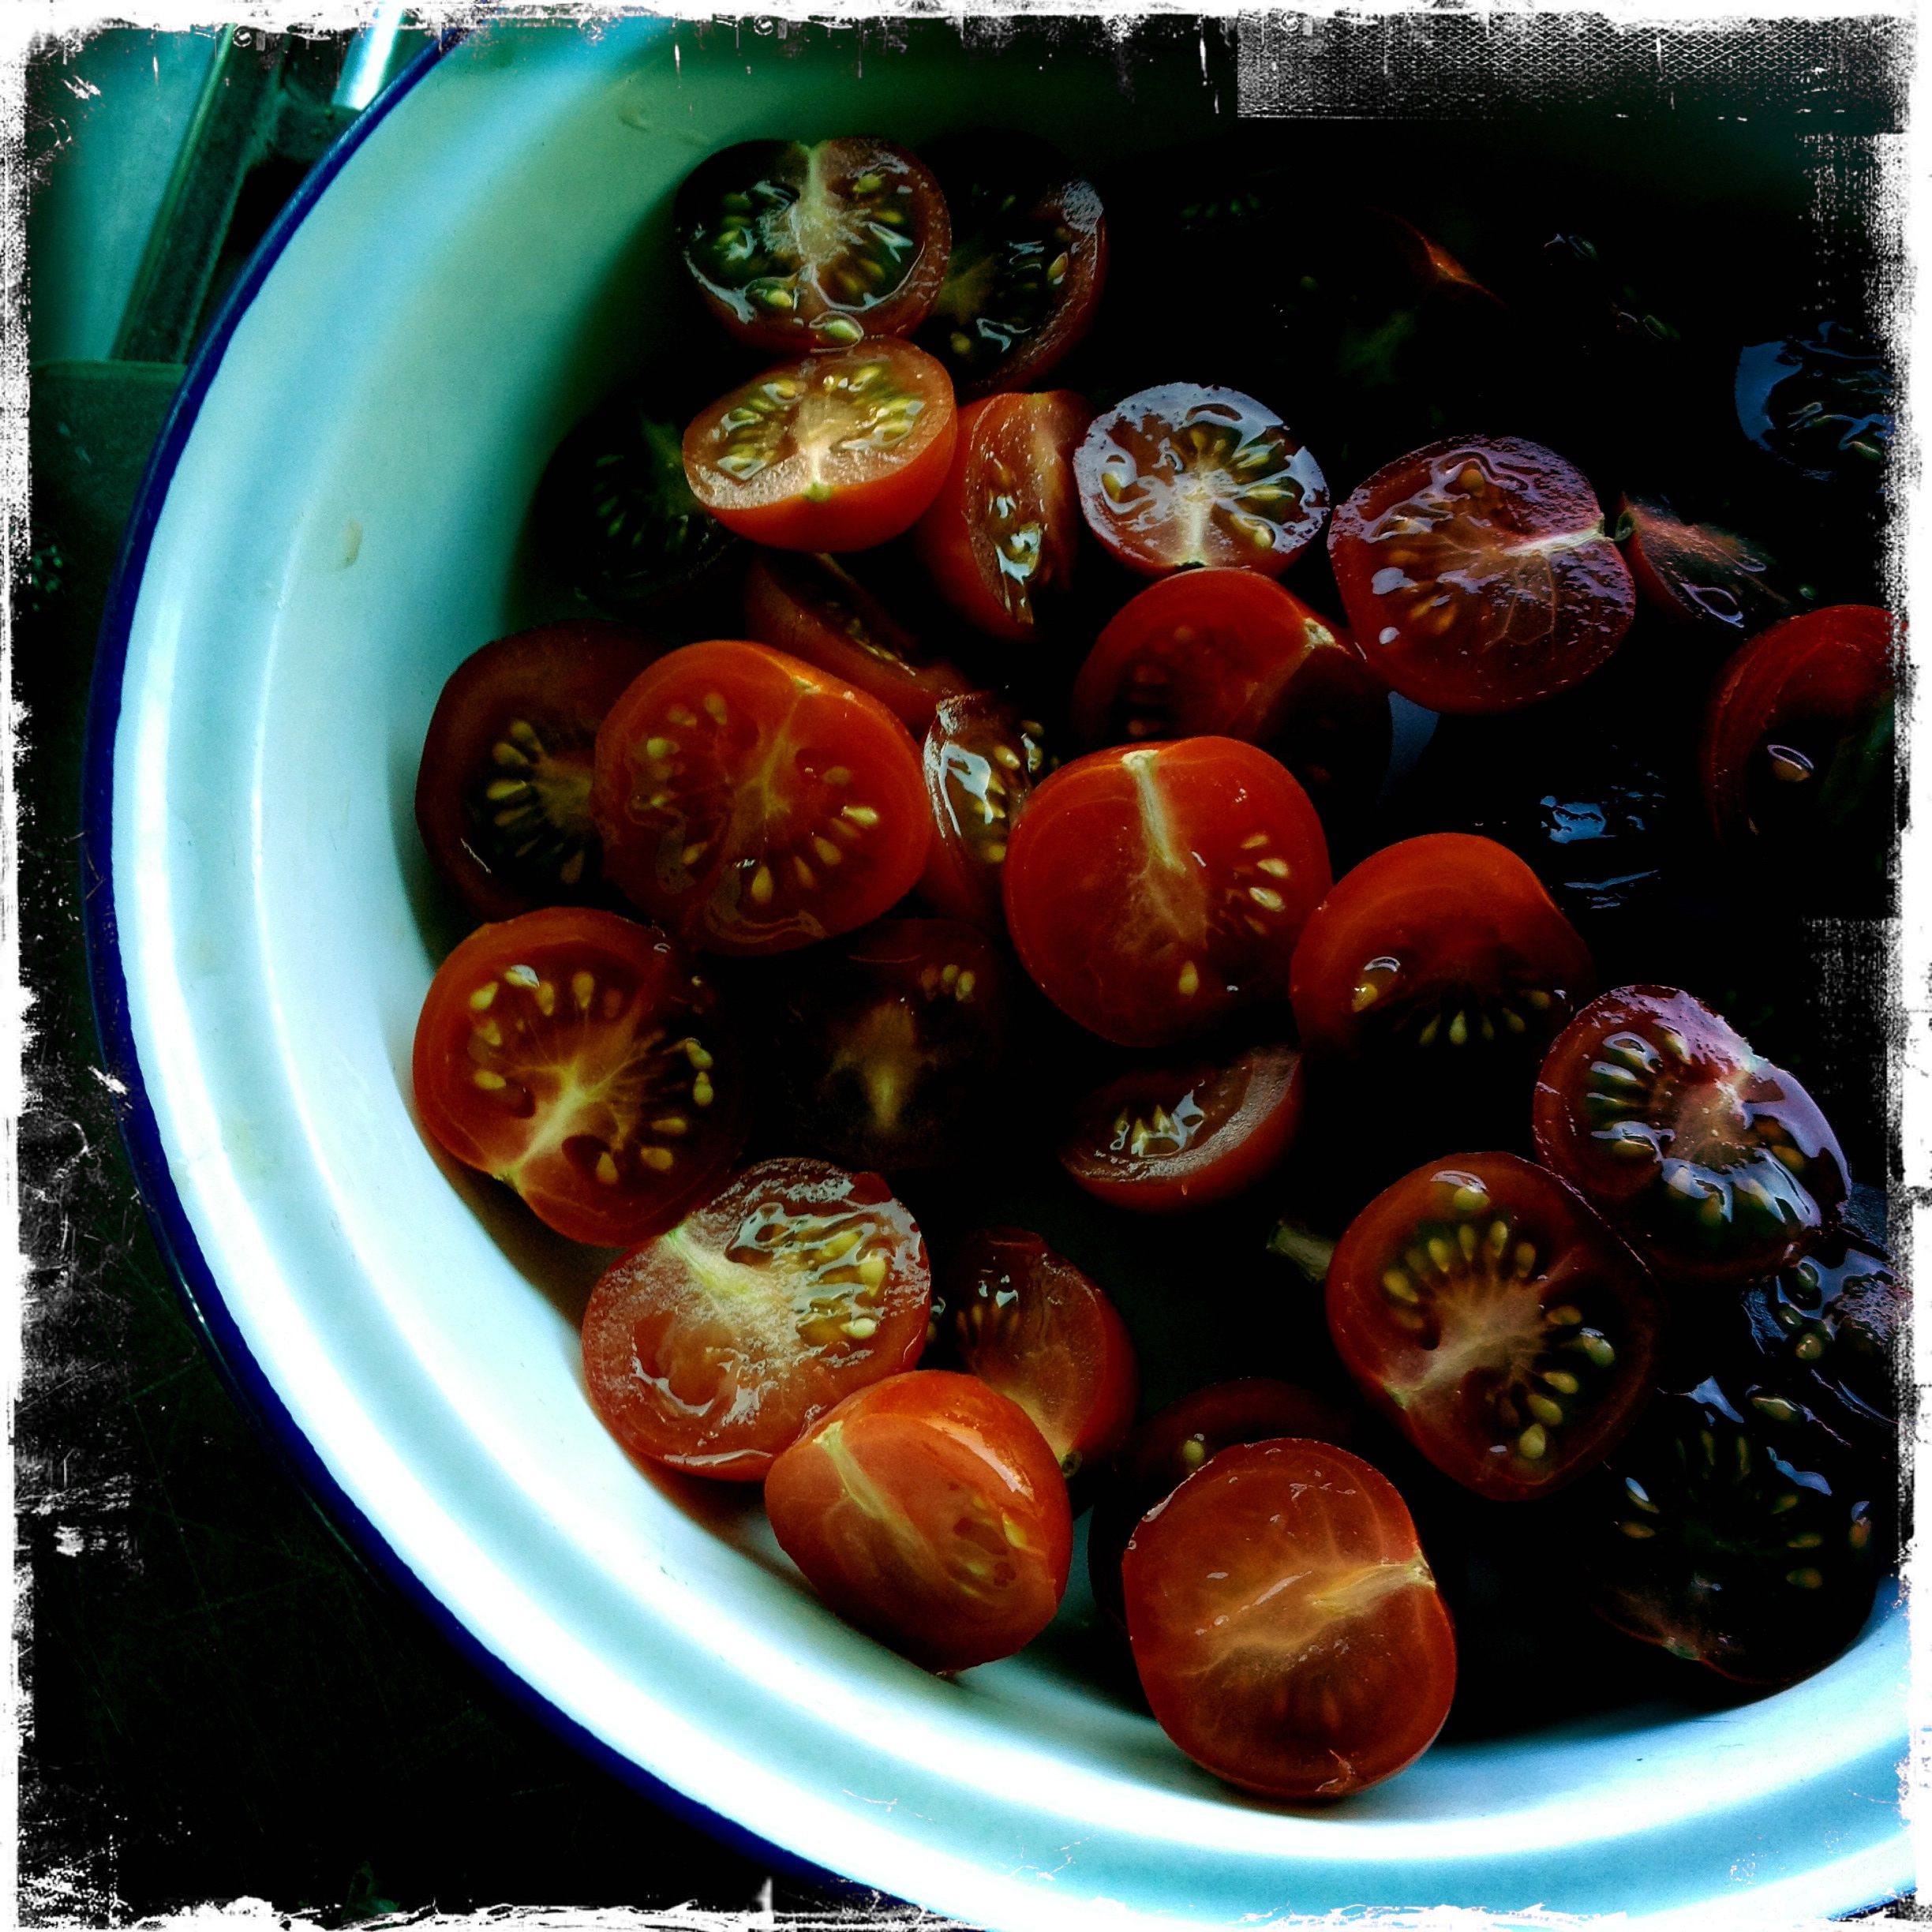
500g cherry tomatoes (must be cherry toms, save those big bastards for something else)

2 garlic cloves

1 tablespoon of honey

3 tablespoons of olive oil

Sea salt and black pepper

Preheat the oven to 190C.

Halve the tomatoes and place them cut side up. When I do loads, I don’t place every single one cut side up unless I really do want to procrastinate. Choose your tin according to your tomato yield: you want the tomatoes to be close up and personal, not spread far and wide.

IMG_1290

Crush the garlic with a pinch of salt, then beat it together with the honey, oil and pepper if using. Because I have thick set honey, I have to melt the honey first as otherwise this just gloops together. Spoon the  mixture over the tomatoes and roast for about 30 minutes. I find it frequently needs longer as you want them toms to be goldeny brown, and bubbling. I sometimes finish them off under the grill too.

Eat immediately or keep in the fridge. Note that if you use tomatoes that aren’t that sweet, this will really improve them. However, if you start with really sweet tomatoes already then these are GLORIOUS. They also  make a great addition to a full fry up. Now then, I really must get on.


Making your own ice cream cones

IMG_1100

Writing about this most happy of subjects: ice cream, is an attempt to shake off a very bad case of what I guess are called Monday blues.

Although I feel ridiculous writing about ice cream in this weather. I’m in Suffolk and it’s grey and cold. I’m back in 4 ply cashmere, last night we lit a fire, I have loads of stuff to do that I’m optimistically lumped together in an ‘in tray’ formation  (the most useful thing I ever ever read was “we all die with a full in tray so don’t try to clear it”) and I feel as creative as a piece of plain, economy photocopy paper.

So, ice cream cones. What, you may be thinking, is the figging point of making your own? Well, you may live somewhere where you can easily buy those nice sugar cones. I don’t. And last year my local supermarket, Waitrose, seemed to have a run on decent ice cream cones and for weeks and weeks all you could get were a) awful wafer cones or b) awful wafer cones in the shape of a teddy’s head. This is very serious when you are an ice cream maker’s daughter. You cannot serve good gelato in such a receptacle.

Also, I am slightly obsessed with what goes into stuff and if I can make things at home and control the ingredients, then I will. And there is always a deadline to be avoided..I’m involved in a very grown up, serious piece at the moment and when things get a bit de trop for me, I retreat into the whimsy of baking and making. Not least because I have an almost pathological need to achieve. Something. Anything. Even if it’s ‘just’ stepping back and looking at a pile of ice cream cones which I’ve just made, whilst upstairs, there are 1,000 words that remain quite, quite unwritten.

I had, somewhere in the back of the cupboard, an old pizzelle iron/maker. Pizzelle are small waffle biscuits with a fancy pattern on them. You can also roll them up into a mini cone shape. Pizzelle irons are not easy to find in the UK which is a shame.  So, because I thought it would be really frustrating for you, me banging on about how to make your own ice cream cones using something you can’t buy here, I bought a waffle cone maker from Lakeland. I know, so kind of me. [Disclaimer: I get press discount at Lakeland and have done for nearly 16 years.]

So, first and briefly, the machine. It’s £29.99 which isn’t cheap and only you can gauge whether it’s really worth buying it. We eat a ridiculous amount of ice cream in this house so for us, yes it was. It isn’t anything fancy and I can’t tell you if it’s the BEST ice cream cone maker on the market because it’s not a big market.

I can tell you this though: ignore the instructions that come with it as they are crap. If you use the plastic cone shaper that they send you, you will end up crying as it makes for a giant-aperture cone. Just chuck it in the bin. You can roll them by hand, it just takes a bit of practice. Also ignore the recipe that comes with it makes an insane amount.

IMG_0872

How to make plain ice cream cones, the definitive recipe after weeks of testing:

This makes about 20 cones.

75g very soft butter

125g caster sugar

300ml of water/milk. I use 250ml water, 50ml of milk. (I’ve also used unsweetened almond milk and it’s worked just fine.)

250g plain flour (for variations such as wheat free, see below)

1 egg

1 teaspoon of vanilla extract

a pinch of salt

Cream the butter and sugar together. Then add the egg and vanilla extract. Mix together. Add the flour and salt and finally add the water/milk in a steady stream, mixing as you go. Beat well. You need to have a fairly thick but runny batter. If it’s too thick you’ll end up with cones that don’t cook, too thin and they’ll break easily once cooled. So don’t be afraid to experiment. It’s doubtful you’ll need less liquid that I stipulate however. I’m aware I’m sounding very bossy in this post.

Put the waffle maker onto maximum. Don’t even bother with the lower temperatures: waste of time.

I use about two soup spoons of batter. Close the waffle iron down. It takes 3-4 minutes (more like 4 but check after 3) until done. They are done when they are golden in places and dry looking. You will need to experiment a bit with what works for you.

When done, lift out with a spatula. You now have approximately ten seconds to shape your cone or it will set hard. If you’ve cooked it right, you will be able to shape it into a cone just using your hands. I lay mine flat on a chopping board and roll. Not too tightly rolled, or you’ll end up with hardly any room to put the dollop of ice cream. Not too large or you’ll need 2,000 calories worth of gelato to fill it up. It does take practice. Hold it in shape with your hand for a minute, and pinch the end (otherwise ice cream will drip through when you put it in). The cone be hot but you sort of get used to it. Or I did. That’s it, set to properly cool on a wire rack. It does take a bit of time to make them but I find it quite meditative.

They store in the infamous ‘airtight container’. They keep for a week or two, probably longer but they never last that long here.

Variations:

IMG_0903

Chocolate cones:

As above but replace 30g of flour with cocoa powder and up the sugar to 135g. I found these took only 3 mins.

Wholemeal cones:

Yes really! These are really tasty actually. Same as above but do half plain flour and half wholemeal. And healthier too.

Wheat/gluten free

Substitute the normal flour for rice flour. You can also make them chocolate wheat free versions by using 135g sugar instead of 125g, then adding 30g cocoa powder and using only  220g of rice flour.

IMG_9790

Gluten/dairy free

Substitute the normal flour for rice flour, the butter for coconut oil (slightly less: 70g) and the milk for almond milk. These taste totally delicious, and make a very crisps cone; they need slightly longer cooking (3-3 and a half minutes) because of the coconut oil. And, I think because the mixture is thicker, they spread out less and make smaller cones. I really like these.

Remember, generally:  the more liquid you add, the thinner you can get the cones. This is great if you want a very fine cone but it will break more easily.

Home made cones are a bit more fragile than shop bought ones, so handle them carefully.

Blueberry traybake

Saturday night I went out, quite unchaperoned, to a dinner. It’s funny, when you’re part of a couple, how easy it becomes to turn invitations down or accept them, perennially as part of a couple. Even if one of you can go. on Saturday, we didn’t have a babysitter and it only dawned on me after we’d turned it down that actually, one of us could go. I bagsied me and asked if me being solo would throw out numbers. It wouldn’t so I went. Although it’s more common to turn up unescorted (when you’re part of a long-standing couple) in London, here in the country it can cause eye brows to be raised. I gave my friend Kate a lift and we were introduced as “not a couple” thus quite ruining the introduction I had mischievously planned.

I brought, as a gift for my lovely hostess, Mary, a bottle of wine and one of my giant After Eight mints. I love being able to make my own after eights, not least because it gets me round my Nestle boycott. My children love my after eight mint, they call it ‘mint cake’ and were most put out that I was taking one out of the house.

I had a superb evening. Mary is a great cook with a great kitchen garden, who had channeled the spirit of Ottolenghi for the entire meal. But as I was driving, I didn’t drink. I never drink and drive. I might, at most, have a ‘finger of wine’ at the very beginning of an evening but mostly I don’t even do that. I would hate to have an accident and wonder if that thimbleful of wine had caused it.

But I did get home at 2am and woke up five hours later feeling hungover, although I wasn’t – just tired. By 5pm I was absolutely craving cramming something majorly carb-heavy into my mouth so I found a tile-sized piece of this cake in the freezer, defrosted it in the microwave, whipped up an approximation of the original frosting, using mascarpone, yoghurt, lemon zest, vanilla extract and icing sugar and piled it high on top. I ate it like a snake eats a small mammal, pausing for mere seconds, with head tilted back, as I fed it down my throat. Glorious.

Of course I felt sick immediately afterwards.

This is a Bill Granger recipe from Waitrose magazine. It appeared last summer. I made it and it was so good. I love a cream cheese frosting. But my children aren’t super keen and this makes quite a lot so when I make it I freeze the excess (without the frosting) and it freezes really well. If you think you will be freezing it remember to only make half/part of the frosting. Anyway here is the recipe.

For the cake

180g unsalted butter, softened

210ml sour cream

half a teaspoon of bicarbonate of soda

330g caster sugar

2 teaspoons of lemon zest

1 teaspoon of vanilla extract

3 eggs

250g blueberries

375g plain flour

One and a half teaspoons of baking powder

For the frosting

250g cream cheese

100g unsalted butter

1 teaspoon of lemon zest

1 teaspoon of vanilla extract

250g icing sugar

Preheat the oven to 180C. Take a tin of about 23cm by 33cm and line in baking paper. Mix the sour cream with the bicarb and set aside for five mins.

Using an electric mixer beat the butter and sugar until light and creamy then add the lemon zest and vanilla. Then beat in the eggs, one at a time then add the sour cream mixture.

Put the blueberries in another bowl and toss with a bit of the flour. Mix the rest of the flour and baking powder into the cake mixture and fold in until just mixed. Now add the blueberries and gently stir through. Spoon into the tin and bake for 40-45 minutes. A tester should come out clean the top will be a rich golden brown.

Leave it to cool then prepare the frosting by beating all the ingredients together with a fork or electric mixture. Spread over the top of the cake and go in head first.

IMG_1269

Industrial sourdough. A guest post by Ben McPherson.

Here’s the thing: I’m lazy, and wanted an easy way to achieve perfect results.

Annalisa sent me sourdough starter two months ago. She also sent me instructions about what to do with it. I fed it and watered it and it grew.

Starter - day one

On the day I made my first bread I followed Annalisa’s instructions to the letter: knead after ten minutes, ten minutes, ten minutes, 30 minutes, 60 minutes, 60 minutes and finally 120 minutes.

Floured board - don't do this

The flour on the board was a rookie mistake: I should have used oil. Annalisa put me right on that, sternly but kindly.

Not beautiful, but delicious

Still, the bread worked. Yes, I undercooked it, and yes, the shape was all wrong, but although it wasn’t beautiful it tasted delicious.

Seven kneads, though? Seven? Far too much work, I decided.

Easy loaf in tin

I tried a friend’s easy sourdough recipe, which calls for no kneading. You take your starter, mix in 700ml water and 500g flour, along with a little salt, and let it stand in a bowl in the fridge over night.

Then you add another 500g flour, mix it all up, and spoon the runny dough into two bread tins. You return the tins to the fridge for a few hours. No kneading. Simple.

Easy loaf in oven

The result wasn’t bad. The bread rose well in the tin and the taste was actually pretty good, but the bubbles were small, and the sides of the tin had prevented the crust from darkening properly.

Poor crust on sides

Worse, though: it just wasn’t sour enough, which was the point as far as I was concerned. I’d have been happy if I’d bought it from a shop, but not if I’d bought it as sourdough bread.

I wanted an artisan bread, but with less work kneading than Annalisa insisted on. I had a kitchen machine. So, could I industrialise the process?

The short answer is: sort of. It took a lot of trial-and-error, but it did work.

K-beater

You put the starter into the bowl in the mixer. You put on the whisk attachment and start the machine running slowly. Then you add the water, and then spoon in the flour very slowly until the whole thing forms a smooth dough. If you’re me, you forget the salt. You switch off the machine and wait ten minutes.

Now you change the attachment to the K-beater. You do your three first kneads on maximum power for ten seconds each time. By now you have something that looks like a proper bread dough. After each knead, you scrape excess dough off the K-beater with a knife.

Then, and only then, do you change to the dough hook. After thirty minutes you run the machine on maximum power for ten seconds, and you do the same for the next three kneads, after an hour, and hour, and two hours. Each time you have to scrape the dough off the hook.

Then you put the dough into your banneton, and from that point on the process is identical to the hand-knead process. It makes a good sourdough, which improves the longer you extend the final prove.

Good industrial bread

There’s only one problem. My industrial method is far harder work than the hand-kneading. It’s messy; it covers everything in a hard sheet of sourdough which is very difficult to clean, and you have to use three attachments. It’s a complete waste of time.

In fact, once you’ve got used to making sourdough by hand it’s easy. You get a sense of how the dough should feel in your hand, and when you need to add a little more water, or a little more flour. You knead for ten seconds a time. That’s it. Suddenly it slots into your life, becomes a pleasure not a chore.

Slices

But laziness has taught me some useful lessons. The best is this: if you mistreat your starter, which I often do, by not feeding it every day, it produces a more acidic taste, which I really like.

And salt – I know they say you need it to get a decent prove, and a decent crust, but you really don’t. After completely forgetting to add salt a couple of times, I can’t detect any difference in texture between unsalted and “properly” salted sourdough. I now add a  fraction of what you’re supposed to use, and the bread is excellent.

I cheat on ice – I just throw a small glass of water into the oven to produce the necessary steam – and I don’t own a proper banetton so I improvise with a cloth, a wire fruit bowl and lots of flour.

But I slash. Always.

Slash

Ben McPherson is a TV producer and writer.

Strawberry ice cream

Ice cream is very important to me.  Its icy, creamy tentacles spread wide and deep through my family history. My father was an ice cream maker for a while, from when he turned seventy (seventy!) until about seven years ago. But we sold, and made, ice cream long before that.

For years now, I’ve made my own ice cream. And if you’re interested in some recipes I have one for the best chocolate ice cream in the world; mint choc chip ice cream; a rich vanilla ice cream; a lighter vanilla ice cream that uses whole (not just yolks) egg and soon I’ll put one up for possibly my favourite: almond praline. You can read about ice cream makers here and I now also make my own cones (see that cone in the picture? I made that). I know! Madness, but there you go.

The recipe for strawberry ice cream below, makes enough for about four people, possibly two helpings each. It’s hard to say as these days I double the recipe (super easy to do and you should double it too if you’re making it for a gathering as OBVIOUSLY you don’t have to eat it all at once) and that makes LOADS. And as here in England the weather has just exploded and the grass looks greener and all the flowers are bursting into vibrant life and the trees are popping their buds, it seems only right to celebrate with some gelato.

2 large egg yolks, freeze the whites for madeleines

75g granulated sugar

80ml milk, I always use semi skimmed, but don’t go lower than that, so full fat or semi skimmed

250g fresh strawberries, hulled. If you need to wash them first dry them carefully as water is the enemy of ice cream (you’ll get a ‘colder’ ice cream with water crystals if you’re not careful)

120ml double cream

As I’ve said before. You need milk and cream to make ice cream so don’t be tempted to leave one out.

Beat the egg yolks together with the sugar until pale-ish. Add the milk and place the lot in  a saucepan and stir well over a low to medium heat until it thickens. Do not allow to boil but be patient as this bit can take 5-10 mins and you will need the heat to be more than a candle’s worth to get it going. You’re not going for thick like a custard, but it needs to thicken. It will thicken even more as it cools. But don’t boil it as it may split.

Now put the strawberries and the custard mixture into a blender and blitz until really smooth and there are no bits left. Whisk the cream in a separate bowl until thick, slowly fold the cream into the custard mixture or vice versa, whatever works for you. Chill until cold. The colder it is the less work the ice cream maker will have to do. When cold put into ice cream maker.

That’s it. It’s ready to eat when it’s out of the ice cream maker but obviously it will be very soft, so if you like it to be harder then put it in a container, in the freezer, until such time as you intend to eat it.