So, first up this is from Tim Spector’s excellent The Food for Life Cookbook which you should buy.
I have a very restrictive and healthy diet (no dairy or soya, minimal animal products, nightshades and sugar). Regular cakes, biscuits n ting are a thing of the past. I do taste chocolate as that’s my job, but in tiny amounts. So Tim’s book (as well as some of the Deliciously Ella books: the first one was awful but they’ve got really good since) is a Godsend for me. I still make yummy things for my family and friends but I rarely have anything for me to eat that’s desserty. Don’t feel sorry for me! I look great, have lost a ton of weight, feel pretty good most of the time and can, and still do, eat pasta and bread because my nutritionist – Pr Valter Longo – is Italian!
I didn’t have much hope for this but I made it for some girlfriends and I really loved it and my friend Katie went mad for it, but I thought I could improve it (sorry Tim) and so this is my adapted version.
55g light brown sugar
3 tablespoons of extra virgin olive oil
1 egg
200g kefir (I use coconut kefir, you can, and I have, also use coconut yoghurt or any kefir/yoghurt of your choosing)
100g oat bran
100g ground almonds
35g toasted hazelnuts (or nuts of your choice, or more seeds), chopped
35g pumpkin seeds
half a teaspoon of baking powder
Pinch of salt
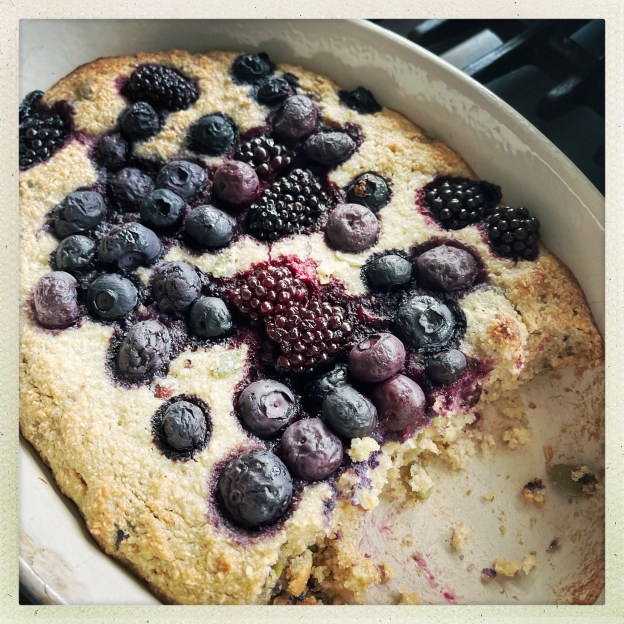
160g frozen berries or fresh ones (I particularly like cherries when they are in season or if not frozen ones)
Zest of one lemon
Oven to 200C, oil an oval baking dish (the sort you might make a crumble in, Tims says 23cm round one).
Basically put everything together, mix well, spoon into the dish, whack in the oven for 25 mins. Best eaten warm, it also makes a rather nice breakfast. Serve with whatever you want/can eat. I have mine with coconut yoghurt or vegan cream but you can, of course, have regular dairy yoghurt or cream.