I got this recipe from the BBC Good Food magazine. I have adapted it ever so slightly. I would also experiment with dropping the sugar content, but never the first time I make something. It’s great for using up Hallowe’en pumpkin carving scrapings, but I admit I used butternut squash as bit too early, for us, to be carving pumps.
Ingredients
250g pumpkin or butternut squash chunks (note: peeled weight)
50g black treacle
140g golden syrup
140g light brown sugar
100ml milk
100g cold butter, diced
125g self raising flour
100g plain wholemeal flour
1 teaspoon of bicarbonate of soda
half a teaspoon of baking powder
1 tablespoon of ground ginger
2 teaspoons of mixed spice
2 eggs
8-10 pieces of crystallized ginger, thinly sliced
What you do
Oven to 180C. You need a 2lb loaf tin (23cm x 13cm x 7cm) which you have lined in baking parchment.
Put the pumpkin or squash chunks in a bowl with a bit of water, cover with pierced cling film or a suitable microwave cover, and cook on full power in the microwave for about 9-10 minutes. When done, drain any excess water and mash it up.
Whilst that is doing, put the treacle, golden syrup, milk and sugar in a saucepan and bring to a very gentle boil, stirring until the sugar is all dissolved. Take off the heat.
Sift together the dry ingredients: the flours, ginger, mixed spice, bicarb and baking powder, add the diced butter and rub together with finger tips until like fine breadcrumbs. I admit it, I did this in a food processor because I am a lazy bastard. Set aside.
Whisk the egg gently into the pumpkin/squash, just until you have a gooey, orange mass. Now pour this into the treacle/syrup/sugar/milk mixture, or vice versa. Now add to the dry ingredients, mixing carefully and slowly. If the syrupy mixture is too hot and/or you add it too fast, then you will get small clumps of flour that will never disperse.
Or you could be like me and chuck the whole lot into the bowl of a food mixture and whisk it together, because you can never have too much washing up.
Pour the batter into the loaf tin and onto the top, scatter 80% of the sliced up crystallized ginger. Bake in the centre of the oven for 45 minutes. A skewer should come out with some moist crumbs, you don’t want it too dry. Five minutes before, scatter the rest of the sliced ginger on top.
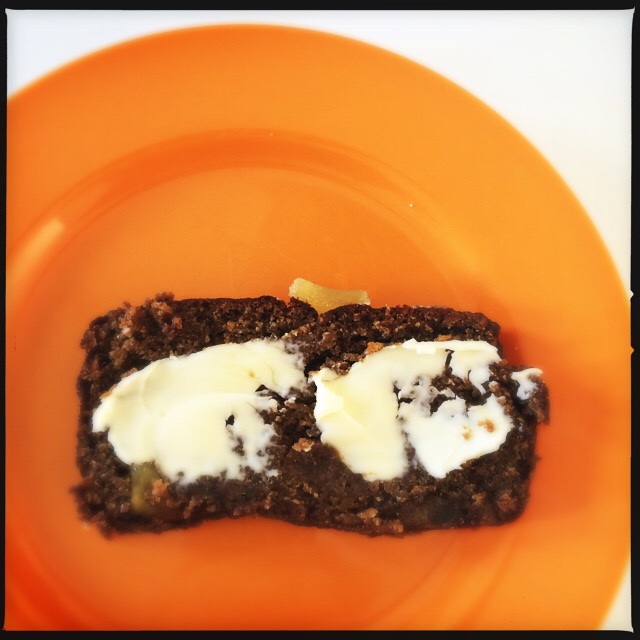
Take out and cool completely. Like all gingerbread, it tastes better after a few days of being wrapped in baking parchment/foil and is delicious sliced and spread with butter and served, in front of a fire, with a cup of tea. It is full of lovely autumn flavours.