Category Archives: Presents

Salted caramel chocolates

Here it is, cut in half.

I’m very fond of salted caramel chocolates. I know salted caramel is a bit everywhere now, but I am partial.

L’Artisan du Chocolat’s are my favourite. But expensive. I went into the store within Selfridges not so long ago and a box costs £12 million pounds. Or nearly that.

Anyway, whenever I’m on a deadline, which is often, I think about how I can waste time in the kitchen. Because when I am failing at writing I need to achieve at something. Be it ironing or stuffing envelopes. I need a task that has a beginning, middle and end. Unlike writing which seems like all beginning and then huge relief followed by anxiety.

So this is what I did. I got my button chocolate mould, what I bought at Lakeland. This doesn’t make buttons like Cadbury’s buttons, it’s bigger. Each button is about 2cm across at the widest part. (Or something, I haven’t measured it I can if anyone wants me to). I melted some 70% cocoa chocolate, which isn’t really chocolate, it’s health food. I half filled the mould. Then put it in the fridge until set (not long). Then I put in some caramel sauce.

Here they are, chocolate at the bottom already. I actually put a bit more caramel in than is shown because I am very greedy.

Don’t be mean with the caramel sauce. But don’t fill so much that you can’t seal the chocolate up. They key is not to get the chocolate too thick, but to strike the right balance between enough chocolate to hold the caramel in, without making it too thin/thick. Even if you get it wrong the result is totally delicious, so fret not.

I use this caramel toffee sauce, aka dulce de leche. I don’t know how authentic it is but it’s what I use.

You thought I made my own caramel to go in these? You were wrong.

On top of each puddle of caramel, I then put a sprinkle of sea or rock salt. My two year old sometimes helps with this bit and some get enough salt to put you in a coma and I have to go round cleaning up.

You then let it rest for a bit more in the fridge, then top up with more chocolate. I keep my chocolate runny by keeping it over a pan of boiling water (but not on the stove).

Voila. Easy. Let’s just have another look at the finished product:

Pretty nice eh?


Addendum, November 2012.

I have now started making my own caramel to make these and it elevates them into something else. It doesn’t take long to make, the caramel, but as it’s my secret ingredient I am, for once, not going to share it. I’ll just post this here to be really annoying.

But you can find a recipe for caramel anywhere…

Pate de fruit

Fruit pastilles or pate de fruit. Not chewy, just soft set jellied sweets. Mmmm.
Each Christmas my eldest and I make Christmas cards that you can eat, or use. You know the sort of thing: gingerbread men, bath bombs etc. To give out to her school friends. I get an inordinate amount of pleasure from making cards with my daughter. And it’s very useful deadline-avoiding fodder. Please don’t let this make you tense, it’s not everyone’s idea of fun, but it is mine. (Even as a child Id make cakes to avoid doing homework. Then I’d flog them to my dad who had a café.) 
So anyway. This year I had the fanciful idea of making a sheet of fruit pastilles, then cutting them into Christmas tree shapes and putting them in clear front photo bags (I got them in bulk some years ago, which was in part what started this Christmas card project thing as I was determined to find a use for them). 
This was the idea anyway, making Christmas tree shaped red fruit jellies. In the end, I realised that you’d need an enormous amount of fruit to make the number of fruity Christmas trees we’d need, to enable her to give one to each of her school friends. I’m keen, but not that keen. 
But I made the fruit pastilles anyway and cut them into cubes. If you fancy whiling away half an hour, these make a pretty present (although they don’t really last long) and are intensely fruity (don’t expect Haribo chewiness, these are like fruit jellies, or pate de fruits). I haven’t yet experimented with other fruit but I know people who make them with all sorts: rhubarb, apple, blackberry, mango etc. The only thing I will suggest is that you think of the final colour and use the fruit accordingly. You want something that looks appealing so if you use a wishy washy coloured fruit (apple, say) don’t let it dominate. Personally I think berries are ideal as the main ingredient.
This is what you need:
Some fruit – you really need to start with about 300g of it to make this worth your while. I used raspberries and apple for the ones here. About 90% raspberries to 10% apple.
Preserving or jam sugar (the one with pectin in it)
Put the fruit into a saucepan – chop up if necessary. Obviously that doesn’t apply to berries and if you’re interested I used frozen berries.  Squeeze some lemon on them, I squeezed a wedge on my 300g of fruit. It doesn’t have to be precise, as you can probably tell.
Cook over a gentle heat until sludgy. If you’re using a mixture of fruit (say, like I did apple and raspberry) you may want to start the harder fruit off first. Cook until mushed up. Towards the end, I help break everything up with a stick blender.
Now, take off the heat and sieve into a bowl or other saucepan. Be aware you’ll need to weigh the resulting puree. If you have chickens, you can feed them the sludge left in the sieve.
Whatever you’re left with, weigh it and add the same amount of sugar. I think I was left with about 150g of fruit puree so I added 150g of the preserving sugar.
Put the puree and sugar in a saucepan, and heat gently. Stir until al the sugar is dissolved, then keep heating gently for about 30mins. Stir occasionally. You know it’s done when it’s thickened and if you take a spoonful out it will dangle off the spoon as you drip it off (this will make sense when you do it) instead of just falling off. You want it to be glutinous.
Line a suitable tin/tray with baking parchment. I used the bottom of a loaf tin. It’s easier if you have nice straight sides as they’ll be less to cut off and straighten up later.
Put in the fridge and let it cool. Mine were done after about three hours. You can leave it overnight.
Turn out onto a chopping board. It should be one solid mass. Tidy up the sides but cutting (I use them as fruit snakes), and cut into cubes or whatever damn hell shape you want. Roll in caster sugar and let them air dry for about an hour to set. Personally I store them in the fridge as they can go a bit sludgy (gosh, I’ve overused that word today).

Home made Nutella

Not the most amazing pic but it’s real life home made Nutella-type spread in a jar, look!

I know this doesn’t look good; two consecutive posts concerning chocolate.  There is tons of other stuff I could be writing about, I’m just not very fired up about them though. And as this is a blog, and I’m not being paid, it has to be a bit enjoyable for me.

In Italy Nutella comes in glass jars you can use, when you’ve scoffed the lot, as glasses to drink out of. They come in pretty patterns. I think you could get them here at one point too, but I don’t see them anymore.

I used to eat Nutella out of the jar, on a spoon. I can’t believe this now as I find it quite disgustingly sweet. The ads sell it to you as having slow release energy thanks to the 1.5 hazelnut you get in every serving…we have Nutella in our house but I loathe it now. It’s laden with sugar.

So when I saw Annie Rigg’s book about Edible Presents and saw there was a recipe for Chocolate and Hazelnut spread in it, I jumped.

You probably can do this without a food processor, but I don’t.

Makes 1x 450g jar

75g blanched hazelnuts
100g 70% cocoa chocolate
100ml condensed milk
1-2 tablespoons of hazelnut oil
a pinch of salt
3-4 tablespoons of hot water (if you even need this much)

The recipe asks for you to use sterilised jars. I use them straight out of the dishwasher, if it’s good enough for Nigella, it’s good enough for me.

Toast the hazelnuts; you can do this in an oven or in a dry frying pan. Until they’re golden. Cool slightly and then  grind to as smooth a paste as you can get in your food processor.

Melt the chocolate, condensed milk and hazelnut oil, very gently, in a saucepan. When the chocolate has melted and it’s all mixed up nicely, pour this into the food processor, add the pinch of salt (I always use ground up rock salt in sweet things) and blend. Add as much hot water as you need to give it a thick, spreadable consistency. Don’t panic if, like me, you see it has gone really runny. It firms up in the fridge. That said, you shouldn’t overdo it, I’m just saying don’t go into a tizz if you have (you can always use it as super luxurious ice cream topping if it does go wrong).

Spoon into a jar and keep in the fridge. Rigg says it keeps for up to two weeks. I doubt it will last that long.

Now, I didn’t want to interrupt the recipe further up, with my tales of hazelnut essence, but I bought some from Bakery Bits.  I was wary because, unlike the excellent other ‘essences’ I have from there (Aroma Panettone and Aroma Veneziana are exceptional) which have natural oils in them, the ingredients listed seemed decidedly un-natural. Stupidly I thought it was like extract of hazelnut or something (this is probably impossible to do). Anyway, the jury’s out on whether it’s nice or not but my verdict is: disappointing. Its aroma is rather synthetic and artificial. I liked it at first, but you need to go really easy on it as it can become very overpowering; and I’m not sure I’d use it again. My partner’s nose is far more sensitive and he found it overwhelming.

This recipe doesn’t call for essence of any kind, but because I had it I added a few drops – about four. My seven year old loves this spread but says it’s too ‘hazelnutty’ which is probably accurate. I think this essence is good for when you really need to convey ‘this is made of hazelnuts’ without actually adding that many real nuts and that isn’t the case for this spread, or anything I’m likely to make.

This spread is, anyway, delicious and whilst still not a health food, is a damn sight healthier than shop-bought.

Mmmmm. Eat on toast, or on a croissant or straight out of the jar with your fingers.

One giant after dinner mint

I got this recipe from last month’s Delicious magazine.

After dinner mint chocolate: make it, smash it, eat it

I used a long tin of about 8cm by 30cm, cos I wanted that sort of shape. I lined it in baking parchment (tip: scrunch up the paper first, then flatten it out so it lays flat more easily, this also gives the After Eight an authentic looking side to it, all crinkly).

I melted some dark chocolate. I used about 100g for the bottom and 100g for the top (I’ll put the whole recipe, as I used it, below) I used 70% but actually you could easily go higher – and definitely no lower. It’s important to get the chocolate spread thinly. Thick sounds good but in reality this means you end up with chocolate that’s hard to crack and you want it thin. Don’t sweat it though because unless you’re an idiot you still end up with a great end product.

Pour/spread the chocolate for the bottom (so, 100g) on the bottom of the tin – refrigerate. Chocolate takes almost no time at all to set. Mine took what seemed like 10 mins. It should be hard and crisp.

Make the fondant bit. I used one egg white and 220g icing sugar plus of course the all important peppermint essence. Just in case your fondant is really stiff add a tiny bit of water. Go easy as you don’t want to add too much.

This is a suitable juncture to point out that this product contains raw egg whites so you know, don’t eat if you’re old/young/pregnant/prone to hysteria.

Mix the egg white and icing sugar together (sieve the icing sugar in) until you have a consistency that you like. Add a teaspoon of peppermint extract. Note that refrigerating it doesn’t really thicken it up much so aim for what you want the finished filling to be like, not what you hope it will turn into. To this end you may wish to add the egg white bit by bit. (I never have to as my eggs are laid by my chickens, so not giant).

I end up with really thick fondant that’s a great consistency for what it needs to do.

IMG_1130

When ready, spread over the base layer of chocolate and refrigerate for an hour or two.

Now melt more chocolate and spread it gently over the top – don’t drag it or you’ll end up with a mess.

Refrigerate and when ready to eat bring it out and smash it up with a hammer (but so you get big pieces, not lots of little ones) and let people help themselves. The circles on mine (if you look closely) are from the meat tenderizer I used. I’m sure finer folk have a toffee hammer or some such. DON’T bash it with a large thing like a rolling pin, you want to shatter it into shards, not smash it into a mess of tiny pieces.

You can cut this into squares, but they won’t be really neat. Or at least, mine weren’t. And I do think it’s fun to break it up yourself and eat shards of it.

Scoff after your meal with a strong espresso.

IMG_1136

In summary you need:

about 200g very dark chocolate
220g icing sugar
1 egg white
one teaspoon of peppermint extract (I used the Star Kay White one from Waitrose)

A greedy disposition.

Save

Colomba – one of the most delicious things I’ve ever made

Colomba, soft, orangey, classy.

Colomba means dove in Italian and it’s a traditional Easter cake. It’s much like panettone – traditional Italian Christmas cake – except it doesn’t have sultanas.

Both colomba and panettone use a biga – or sponge starter. I’ve never attempted panettone because it’s not meant to be easy. Not difficult per se, but the recipe is long and there are various stages during which you really need to concentrate. Plus you need to hang panettone upside down when it’s done (until it ‘sets’). I was almost tempted last year when I found out that Patrick at Bakery Bits had started selling the waxed paper cases you need for panettone but then my mamma’s friend bought an exceptional one back from Italy so I never bothered to make my own.

Then Patrick posted a recipe for colomba and started selling Aroma Veneziana which is rich with citrus and almond oils with a hint of vanilla. He also sells the colomba cases (I found the 750g ample big enough for the recipe below. You can make the cake in a traditional cake tin but the dove shape is traditional). So I decided to try it.

God it was delicious. One of the best things I’ve ever made. So good that I couldn’t believe I’d actually made it myself. (I’m aware Easter has passed now, but this shouldn’t put you off trying it.)

I made a few changes to Patrick’s recipe which I’ve detailed below. I actually made two colomba cakes – retardeding the proof time on my first attempt because I ran out of time (I put it in the fridge at the stage marked * below, because from start to finish this cake takes quite a long time, you really need to start it in the morning) and cooked it for 40 mins. Refrigerating it didn’t seem to affect it at all, if anything I think it was tastier. It was supremely moist – a tiny bit underdone and doughy at the very centre, but unnoticeable to all but me.  I cooked the second one for longer – probably 50 mins and it was more authentic ‘colomba’ but slightly dryer. My oven is ferocious so I cooked at more like 180/190C. Patrick’s tip of putting silver foil on top is one to be followed, as the egg white/sugar coating burns easily. In fact I covered the whole of the colomba for the middle portion of the cooking time.

Anyway, this is what you need to do.

First stage: the sponge

15g caster sugar
100g warm water
3 egg yolks (reserve two egg whites, freeze the others if you don’t know what to do with them immediately)
11g instant dried yeast
70g strong white bread flour

Mix together the sugar and water with the egg yolks; separately, mix together the yeast and flour and add this to the egg/sugar/water mixture. You get a thick batter. cover with cling film and leave for a good 30-40mins until it’s really bubbly and frothy (note: my kitchen is about 20 degrees, if yours is warmer/cooler you’ll nee to adjust the time accordingly).

Second stage: first  dough


The frothing, elastic sponge, as above.
75g warm water
45g very soft unsalted butter
6g dried yeast
210g strong white bread flour

Whisk the water into the sponge, then mix in the butter. Separately mix the flour and yeast together and add these to the sponge. You should have a thick, stick, moist batter. Cover with cling film and leave for about two hours, until doubled in volume.

Third stage: second dough


The first dough,  as above.
145g caster sugar
15g honey
3 egg yolks
grated zest of two oranges
2 teaspoons of Aroma Veneziana (this is my favourite big, I adore the smell and it gives you a hint of the good things to come).
115g very soft unsalted butter
250g strong white bread flour
5g sea salt, finely ground
150g chopped mixed peel

Take your first dough and now mix in the sugar, honey and egg yolks. It’ll look a bit unpromising and ‘separate’ – don’t panic. Add the Aroma Veneziana, the orange zest and butter, then the flour and salt. Now, Patrick didn’t add the mixed peel til later (see his original recipe, link above), but I added mine here too. Mix all together.

Now here, Patrick says to knead until you have a soft, smooth, elastic dough. My dough was sticky and a bit unmanageable so I rested it for ten minutes, then gave it a light knead, rested it for ten minutes, then gave it a light knead, rested it for ten minutes, then gave it a light knead. I did this on a lightly oiled chopping board.

Then I picked up the original recipe which says to put it in a oiled bowl and cover with cling film * and leave to rise ‘dramatically’, Patrick says until it’s about three times the original volume which takes about 3-4 hours.

(For the first colomba this * is where I refrigerated it and the next morning, took it out and let it sit all morning until it got to room temperature and then started to rise ‘dramatically’.)

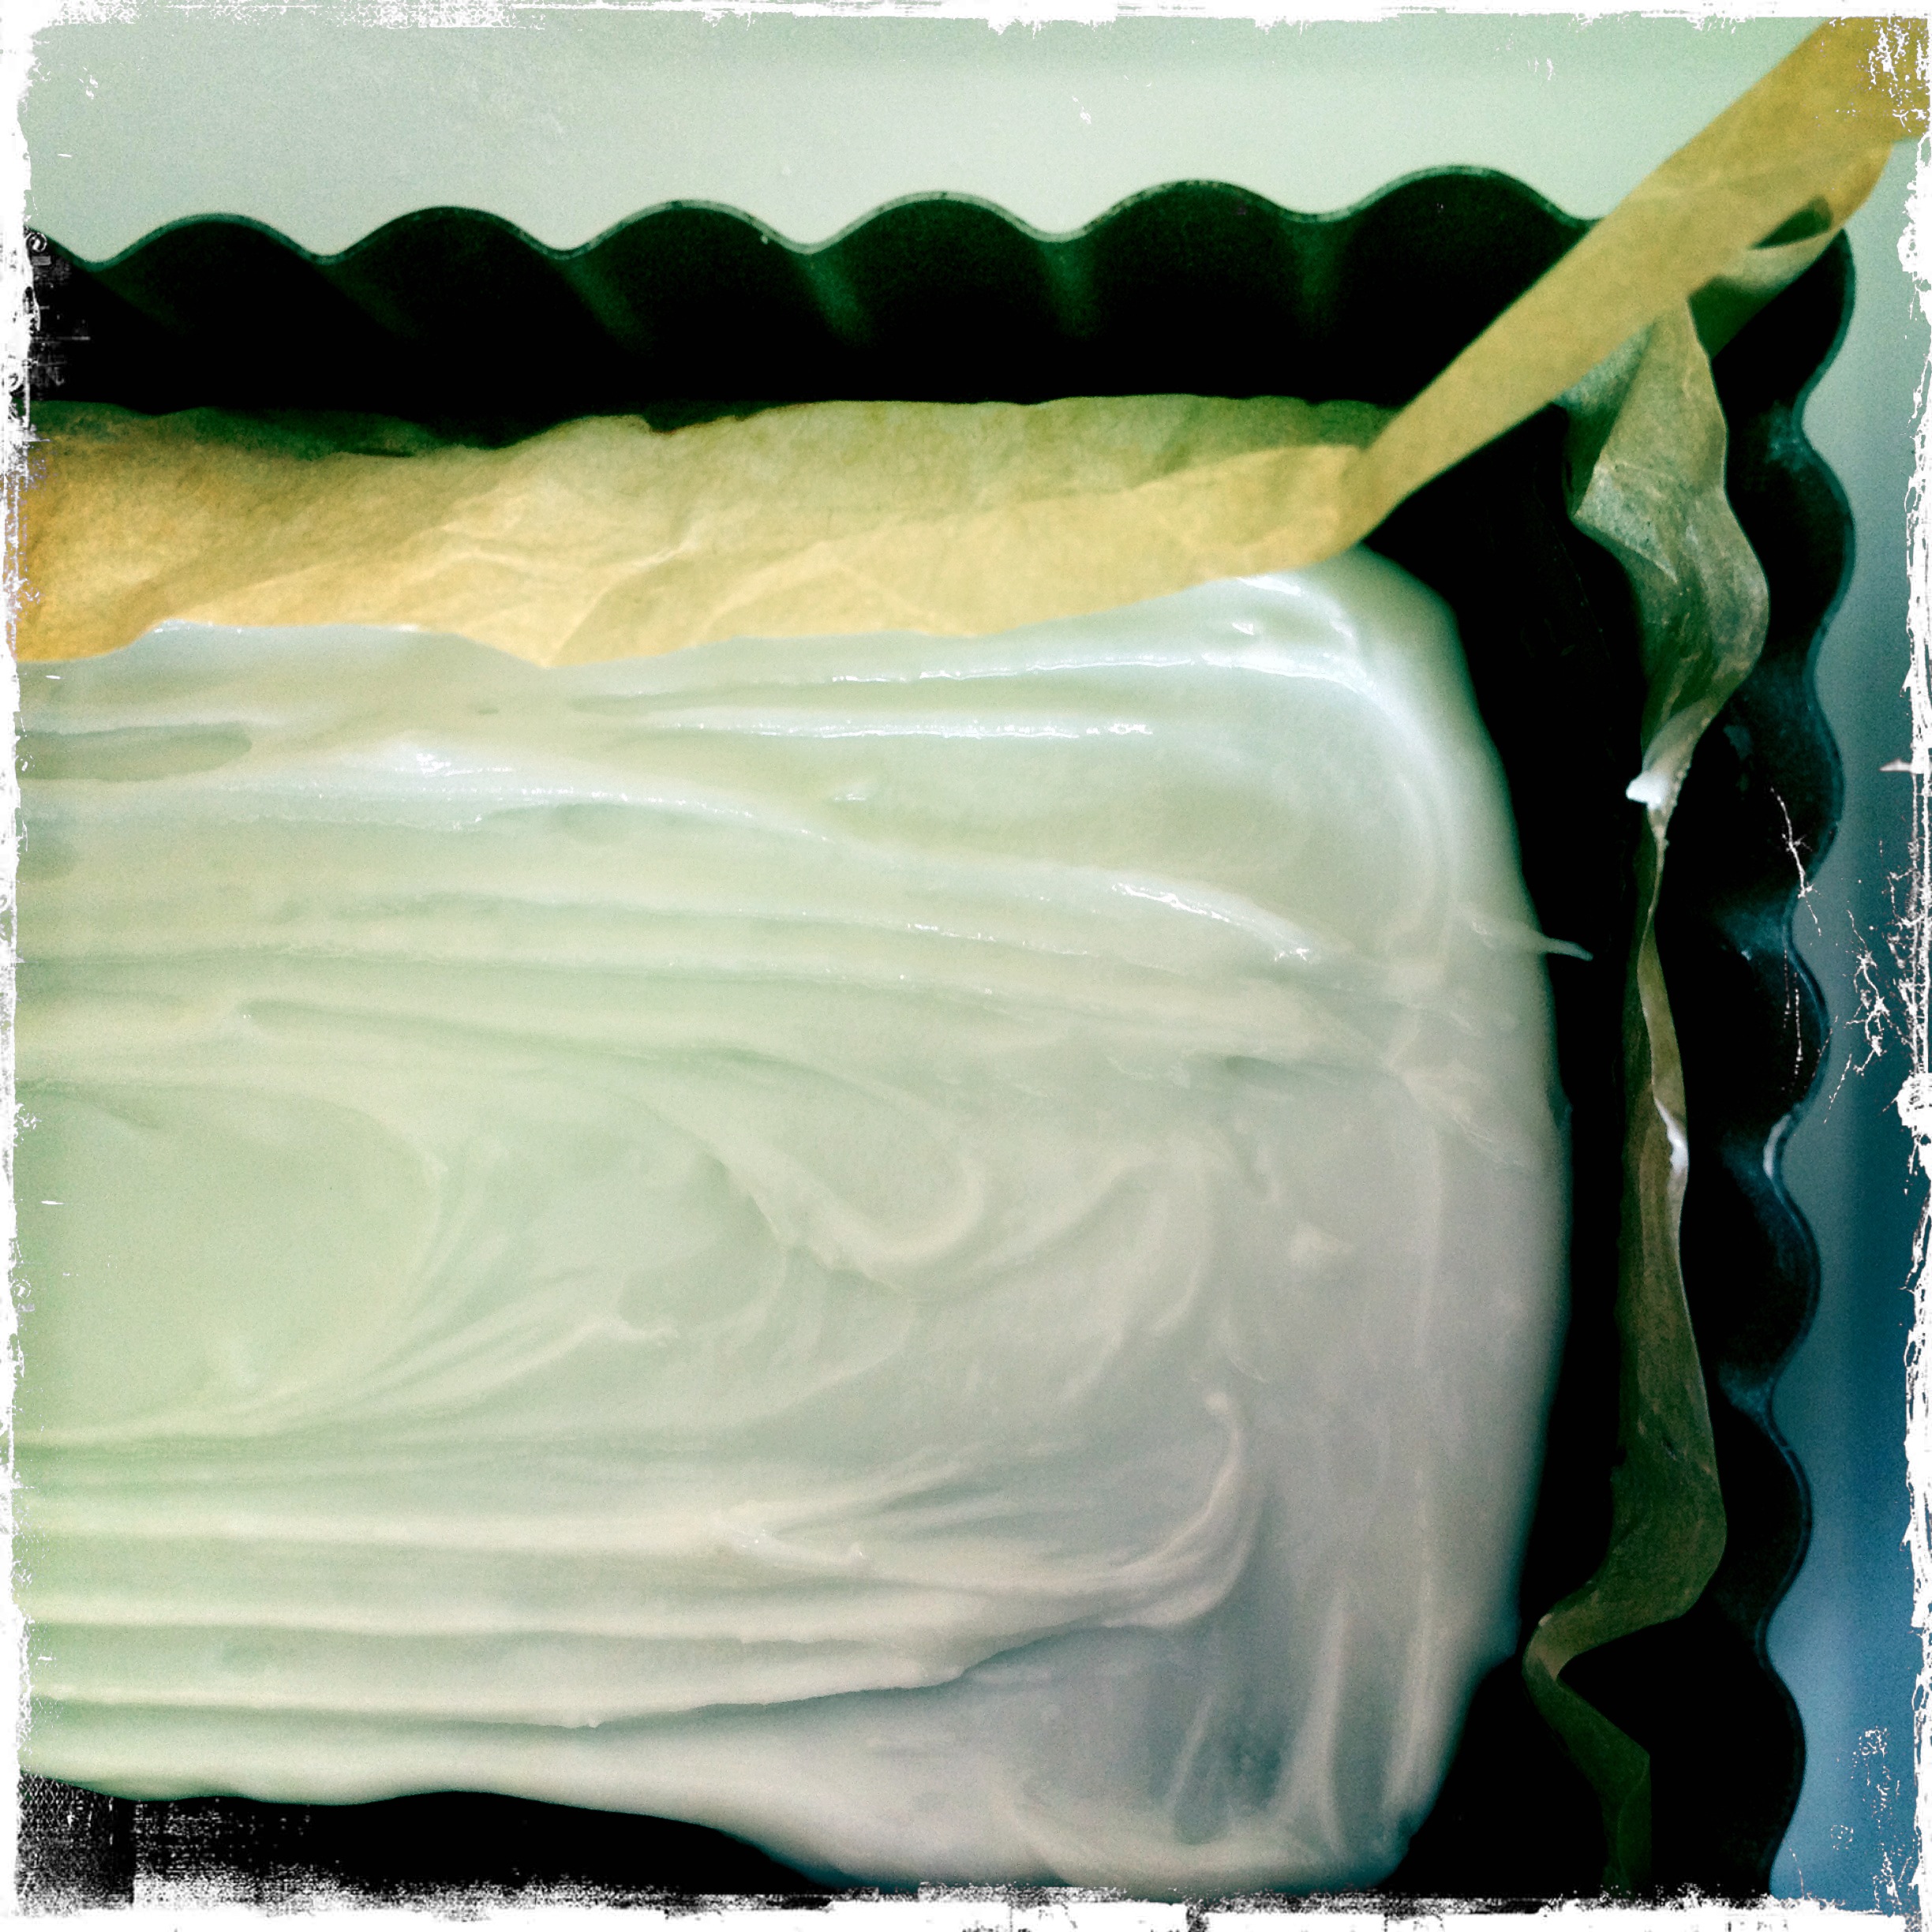
When that’s done, Patrick cuts his dough in half and puts it in the case (after rolling it), one half making the ‘wings’ and one half the head to tail bit (so they overlap). I didn’t do this, I cut three pieces to fit head to tail, and two for the wings, rolled it out to flatten it put it in the case and pinched the dough together.  


I found the case was quite floppy once the dough was in it, so I sat it on a baking tray and when the time came put the whole lot in the oven.


At this stage you let it sit and rise again for about 2-3 hours, until doubled in volume, covered with a damp tea towel. Mine easily took more like three hours. 

Fourth stage: the delicious topping


2 egg whites
25g caster sugar
25g ground almonds


crushed sugar cubes
flaked almonds

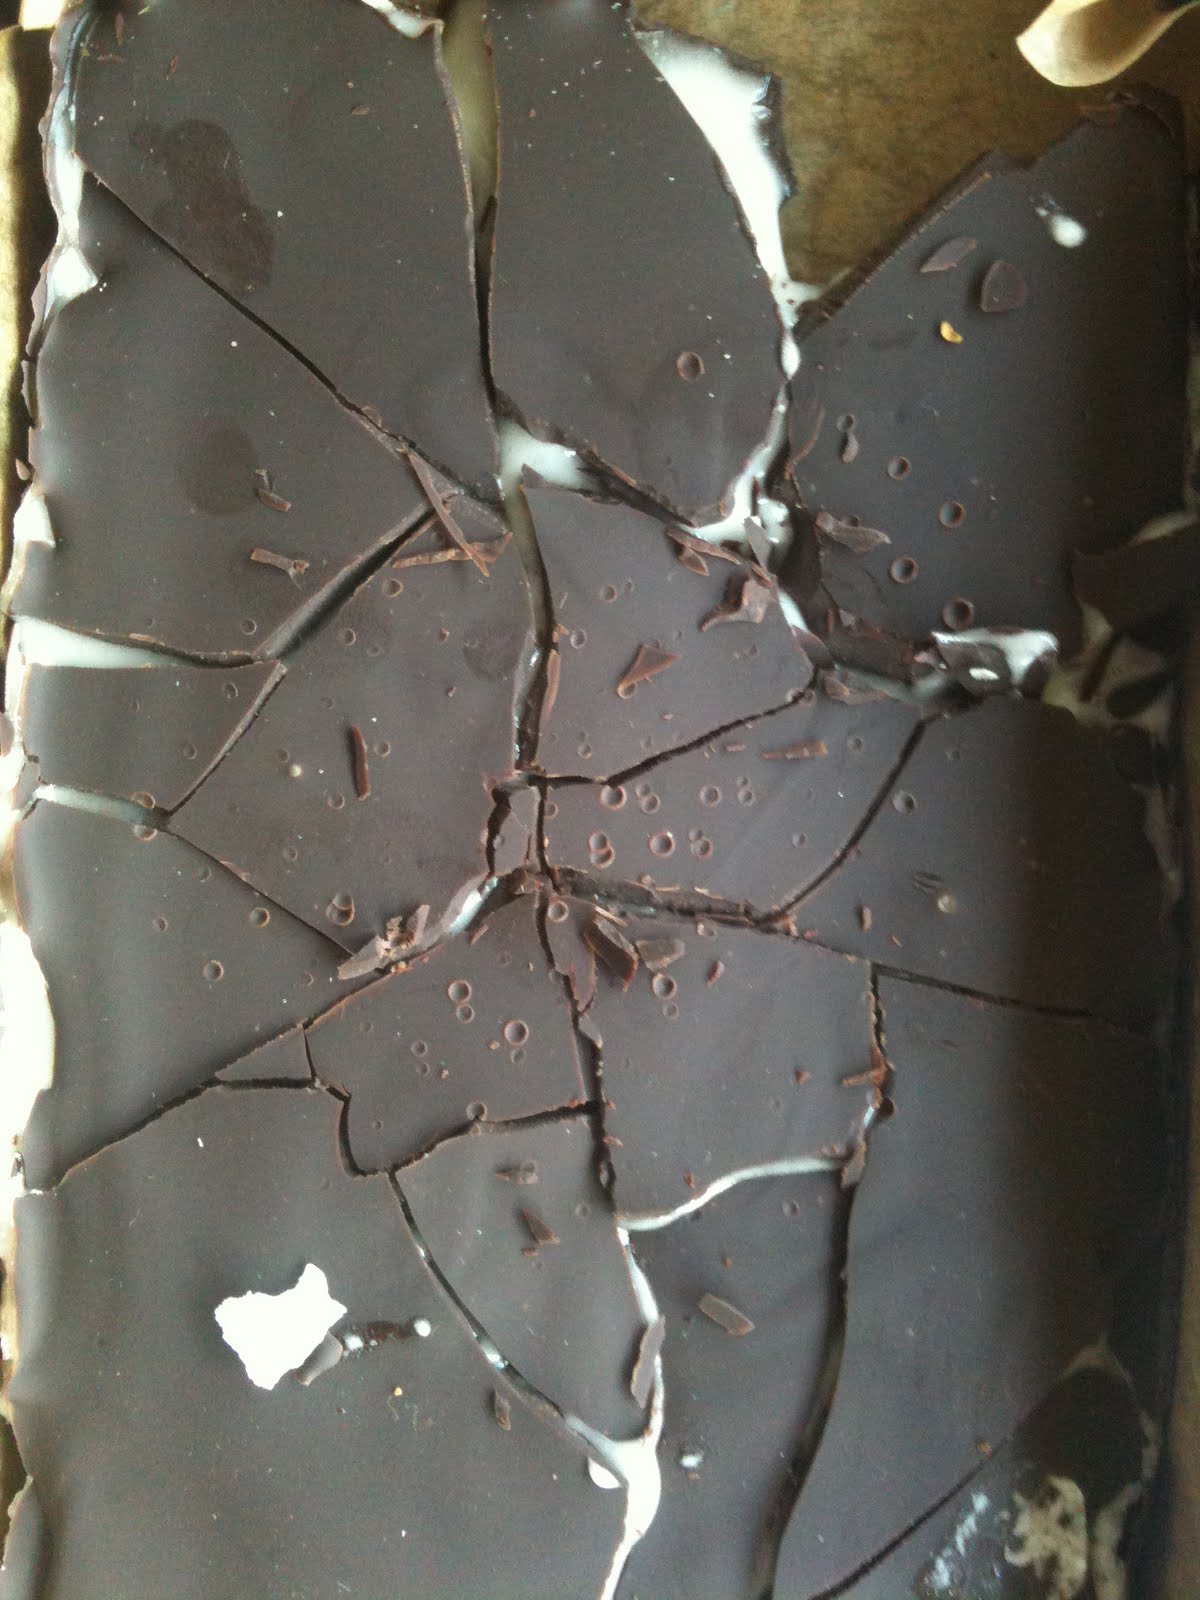
Just before baking you make a paste of the topping ingredients: 2 egg whites, 25g caster sugar, 25g ground almonds and put the whole lot on top of the colomba, spread out with a pastry brush/back of spoon to make sure every bit is covered. Please don’t miss this bit – it’s the topping which really makes it. Scatter broken up sugar cubes and flaked almonds on top – I used three sugar cubes and that was plenty.


Cook for 40 mins at 200C and check if it’s done by putting a skewer in. If it’s burning put silver foil on top. Even if it looks really done – do check with the skewer, if it comes out really gunky it’s not done yet. 


I can’t even begin to tell you how great this is. Patrick says it keeps for four days in a tin, but I made my two a week ago and although one is gone, the other is still superb. But if you do have any left you can always toast it/butter it. We eat it in the morning dipped in caffe latte.


This recipe seems long – it is. But take your time and try it. It’s pretty fool proof considering the result!


Let me know how you get on…and don’t save it just for Easter!


Oatmeal biscuits for cheese or a deserving friend

This recipe was, I think, from Sainsbury’s magazine about eleven years ago. I think it was Nigel Slater – apologies if that’s wrong but it’s impossible to remember accurately and who would think I’d be sharing it on a blog a decade plus later? I do however, remember what attracted me to the recipe which is (like so many recipes that attract me, I’m so shallow), the photo accompanying it had a pile of these stacked up.

They just looked so good. And they are. I have been known to make a present of these biscuits with a cheese humidor, and some nice cheeses, to a host(ess) for the weekend.

I don’t think these bics are the same made in a round shapey. They have to be square, and until my dear friend Lucy bought me a square cutter I used to cut round a medium sized Post-it Note…

You need:

50g medium oatmeal

175g wholemeal (plain) flour

2 level teaspoons of baking powder

95g diced (unsalted) butter, but if you use salted, omit the pinch of salt later on

3 level tablespoons caster sugar

3 tablespoons of milk – any fat content

a pinch of salt

Preheat the oven to 200C/gas mark 6.

Sift the oatmeal, flour, baking powder and salt if using, into a large bowl. Tip any bran that’s left over in the sieve, into the bowl too. Add the butter and the sugar and rub lightly until it resembles breadcrumbs. You can – I do – do this in the food processor using the pulse function but don’t over do it.

Pour in the milk and continue to mix until it’s all moistened. A few more pulses in the processor should do it, but don’t wait for it to come together as if it does you will have overworked it. If you’re unsure, open up the food processor and try to squeeze some of the mixture together – if it holds together fairly easily it’s ready.

Draw it together into a ball/abstract shape and cover. Rest for ten minutes. There is no need to do this in the fridge but if you want to make the pastry in advance, put it in the fridge for a day or two. You will need to take the chill of it (room temperature for a few hours) before you start working with it however.

When you’re ready to make the biscuits, you can flour your table top but I very lightly oil a large chopping board. You do need to roll out the pastry (I hate this bit). When it’s about 5mm thick you can start cutting into whatever shape you want. Mine are approx 3″ square. Don’t make them too thin – they’re more liable to break and burn. You don’t want to overwork the pastry either – don’t make it any work harder than it has to – so I roll these out in two batches. The mixture makes about 16 of them.

Lift them onto a baking tray lined with baking parchment (it’s really worth using baking parchment, trust me). You may need to use a very fine bladed spatula to separate them from the surface you’ve rolled them on. Place on the tray. You can place the fairly close together – but not touching obviously. They do rise, but minutely, so you don’t need to space them really far apart. Get a fork and prick each biscuit three times. I find this unbelievably satisfying.

Cook for 10-12 minutes. My oven is very hot so it only takes 10 minutes. Leave on the tray for five minutes, then gently lift off onto a cooling rack. I’ve left them too long on the baking tray (not using parchment) and they’ve stuck horrendously. So learn from my mistakes!

You can even eat these on their own. They remind me of a really good digestive biscuit. Very nice with cheese and some left over from Christmas cranberry sauce.

Cranberry sauce

Cranberries, orange zest and juice and sugar, all you need to make a delicious cranberry sauce

Cranberry sauce isn’t something that is served in Italian households. In fact any sauces, save for those you put on pasta, are rather alien to us. Growing up, we were made to be highly suspicious of sauces, especially opaque ones. “Whatta area dey trying to cover upaa?” my mother would say with, probably, hands on hips. Subsequently, I didn’t try Indian food til I was very grown up and my best friend’s husband, Mark (half Indian) introduced me to it. Accompaniment sauces, such as ketchup, mayonnaise, chutney etc are never on the table, either, in the Italian households I visit. Although in recent years, younger relatives have started using them.

I’ve had this recipe for cranberry sauce for ages. Torn out of a long ago published magazine. I have no idea what attracted me to it, given that cranberry sauce, have I mentioned, didn’t feature on my radar. It may well have been on the same page as a recipe for chocolate biscuits or something. Who knows. What I do know is that when I got me an English husband (almost) and I started moving away from always having Christmases at my parents’ house (sob!), I also started making cranberry sauce.

And this one is fantastic. And so easy.

The beauty is that you use the same amount of sugar as you have cranberries. I’d say from about 250-500g of cranberries, one orange zest/juice is fine. If you start to go above those quantities then you might want to use more orange zest/juice. The packets of cranberries that Waitrose sell come in about 325g, so I use those, and of course 325g of sugar. This makes more than enough for about six people. I’d say 500g cranberries/sugar would make enough for about ten. Obviously it depends on how much you put on your plate. Anyway it’s nice to make extra and have some left over to use for cold cuts over the next few days and weeks – it keeps for months.

So. You take:

The same amount of cranberries as you have sugar, so say 250g cranberries, 250g caster sugar
Grated zest and juice of one orange.

Preheat oven to 170C/gas 3. It’s hard to say how big your dish should be, but about 1 litre for 500g of cranberries?

Put the cranberries in the baking dish, scatter over the sugar, zest and juice. Stir around gently so that the berries are coated. That’s it. Now cover with foil (although I have cooked without foil and it’s been fine!) and cook for 35-40 mins until the berries are tender and bubbling. (What I do is set the timer for 20 mins and then give the berries a gentle stir and check how they’re doing.)

Cool and store in a jar in the fridge. Keeps for weeks if not months.

Here it is finished in the jam jar, ready to go into the fridge.

A good panforte for Christmas

A slice of panforte ready to be eaten, heavy with nuts and dusted with icing sugar

I’m no stranger to panforte (which means “strong bread”). We had it in the house, at Christmas, when we were children. Unlike almost every other food stuff in our house (save for panettone), it was always shop bought, and awful. Dense and way too clove-y with dusty tasting nuts, it was like something someone had made from what was left in the cupboard after all the good Christmas things had been produced.

When Zia Nigella brought out her Nigella’s Christmas, two years ago, it was, weirdly, the recipe for panforte which intrigued me. I say weirdly because it’s a mystery why I would want to try to make it after my experiences.

But I did.

Well, it was a revelation. It is easy to make, although the ingredient list is not short (or cheap, what with the price of nuts these days). It is delicious, but not in that “I must eat more and more and more until I’m sick” way. A thin slice with a glass of something small, and pert, is perfect. It keeps – so it can be made before Christmas (I’m not going to say “ahead of” since I HATE THAT PHRASE. What happened to ‘before’? It is being outsted). And a thick wedge, wrapped in cellophane would make for a really original little present for a host.

Zia Nigella’s recipe is perfect, and in my opinion, cannot be bettered. Actually that’s not entirely true. But the only change I make is that I make my own candied peel , which isn’t hard, a few days before the panforte. I think it really makes it.

Here it is:

125g almonds with skins on
100g blanched almonds
125g whole hazelnuts (with skins on is fine)
75g soft figs, scissored into 2cm x 1cm pieces
200g candied peel , scissored as above.
half a teaspoon of ground cloves
1 teaspoon of ground cinnamon
A good grating of fresh nutmeg
50g plain flour
a pinch of white pepper
1 x 15ml tablespoon of cocoa powder
150g caster sugar
150g honey (runny or solid is fine as it all melts down)
30g butter

icing sugar for dusting

Preheat your oven to 170C/gas mark 3. Line the bottom and sides of a 20cm cake tin. I use a cake liner cos I’m extremely lazy.

Take a heat proof bowl. It doesn’t need to be heat proof in the sense you’re going to have to cook with it, you don’t, but you will be pouring hot stuff into it in a minute, so don’t use something that’s, you know, papier mache or something.

In this bowl, mix together the nuts, dried fruits, candied peel. Into this add the cloves, cinnamon, nutmeg, flour, white pepper and cocoa powder.

Put the sugar, honey and butter into a saucepan and gently melt. When done, take off the heat and pour over the dry ingredients. Now mix together. “Stir slowly and patiently” says Nigella and I agree. Think about what Christmas really means (presents and someone, undoubtedly, being ill).

Everything needs to be well coated. Tip the lot into the tin and try to press down as much as you can so you get a flattish surface. You WON’T get a level surface, so don’t panic, but do your best. Anyway when the panforte is out of the oven, and still warm (and has been out for a bit, don’t do it when it first comes out), you can press it down some more. I do this when it comes out of the oven with the end of my rolling pin (which is flat).

Bake for 40 mins. It’s ‘done’ when it’s bubbling. Do not panic when you take it out if it looks all soft. You shouldn’t anyway, be touching it (leave it ALONE). Don’t be tempted to cut a slice and think ‘it’s all soft still’. As it cools it will harden.

This is the panforte just before it went into the oven

When completely cold, lift out of tin and dust prettily with icing sugar. What you’ll have is a lovely chewy, nutty thing that tastes wonderfully of Christmas.