Category Archives: Picnics

The perfect baguette

IMG_2932Although I’ve  been baking bread, by hand, for three and a bit years now, I had yet to crack the perfect baguette. Or indeed, any sort of baguette. I suspected – and I was correct – that you needed a couche cloth to make a sourdough baguette and after I got a couche cloth as part of my birthday presents (I’m not a girl who needs an underpaid worker to go into a mine and get me a diamond) I set to work.

The first thing making baguettes taught me is that you really do need to nail your shaping. If you don’t properly prepare the dough for shaping (give it a final knead, then let it rest for about 20 mins before shaping it) it won’t shape so easily and if you don’t shape it properly, it won’t have the surface tension to hold its form. If it can’t hold its form properly then it will be hard to slash and if all those things happen you will get bread that is perfectly lovely and edible. But it won’t look good as it could be.

IMG_2308

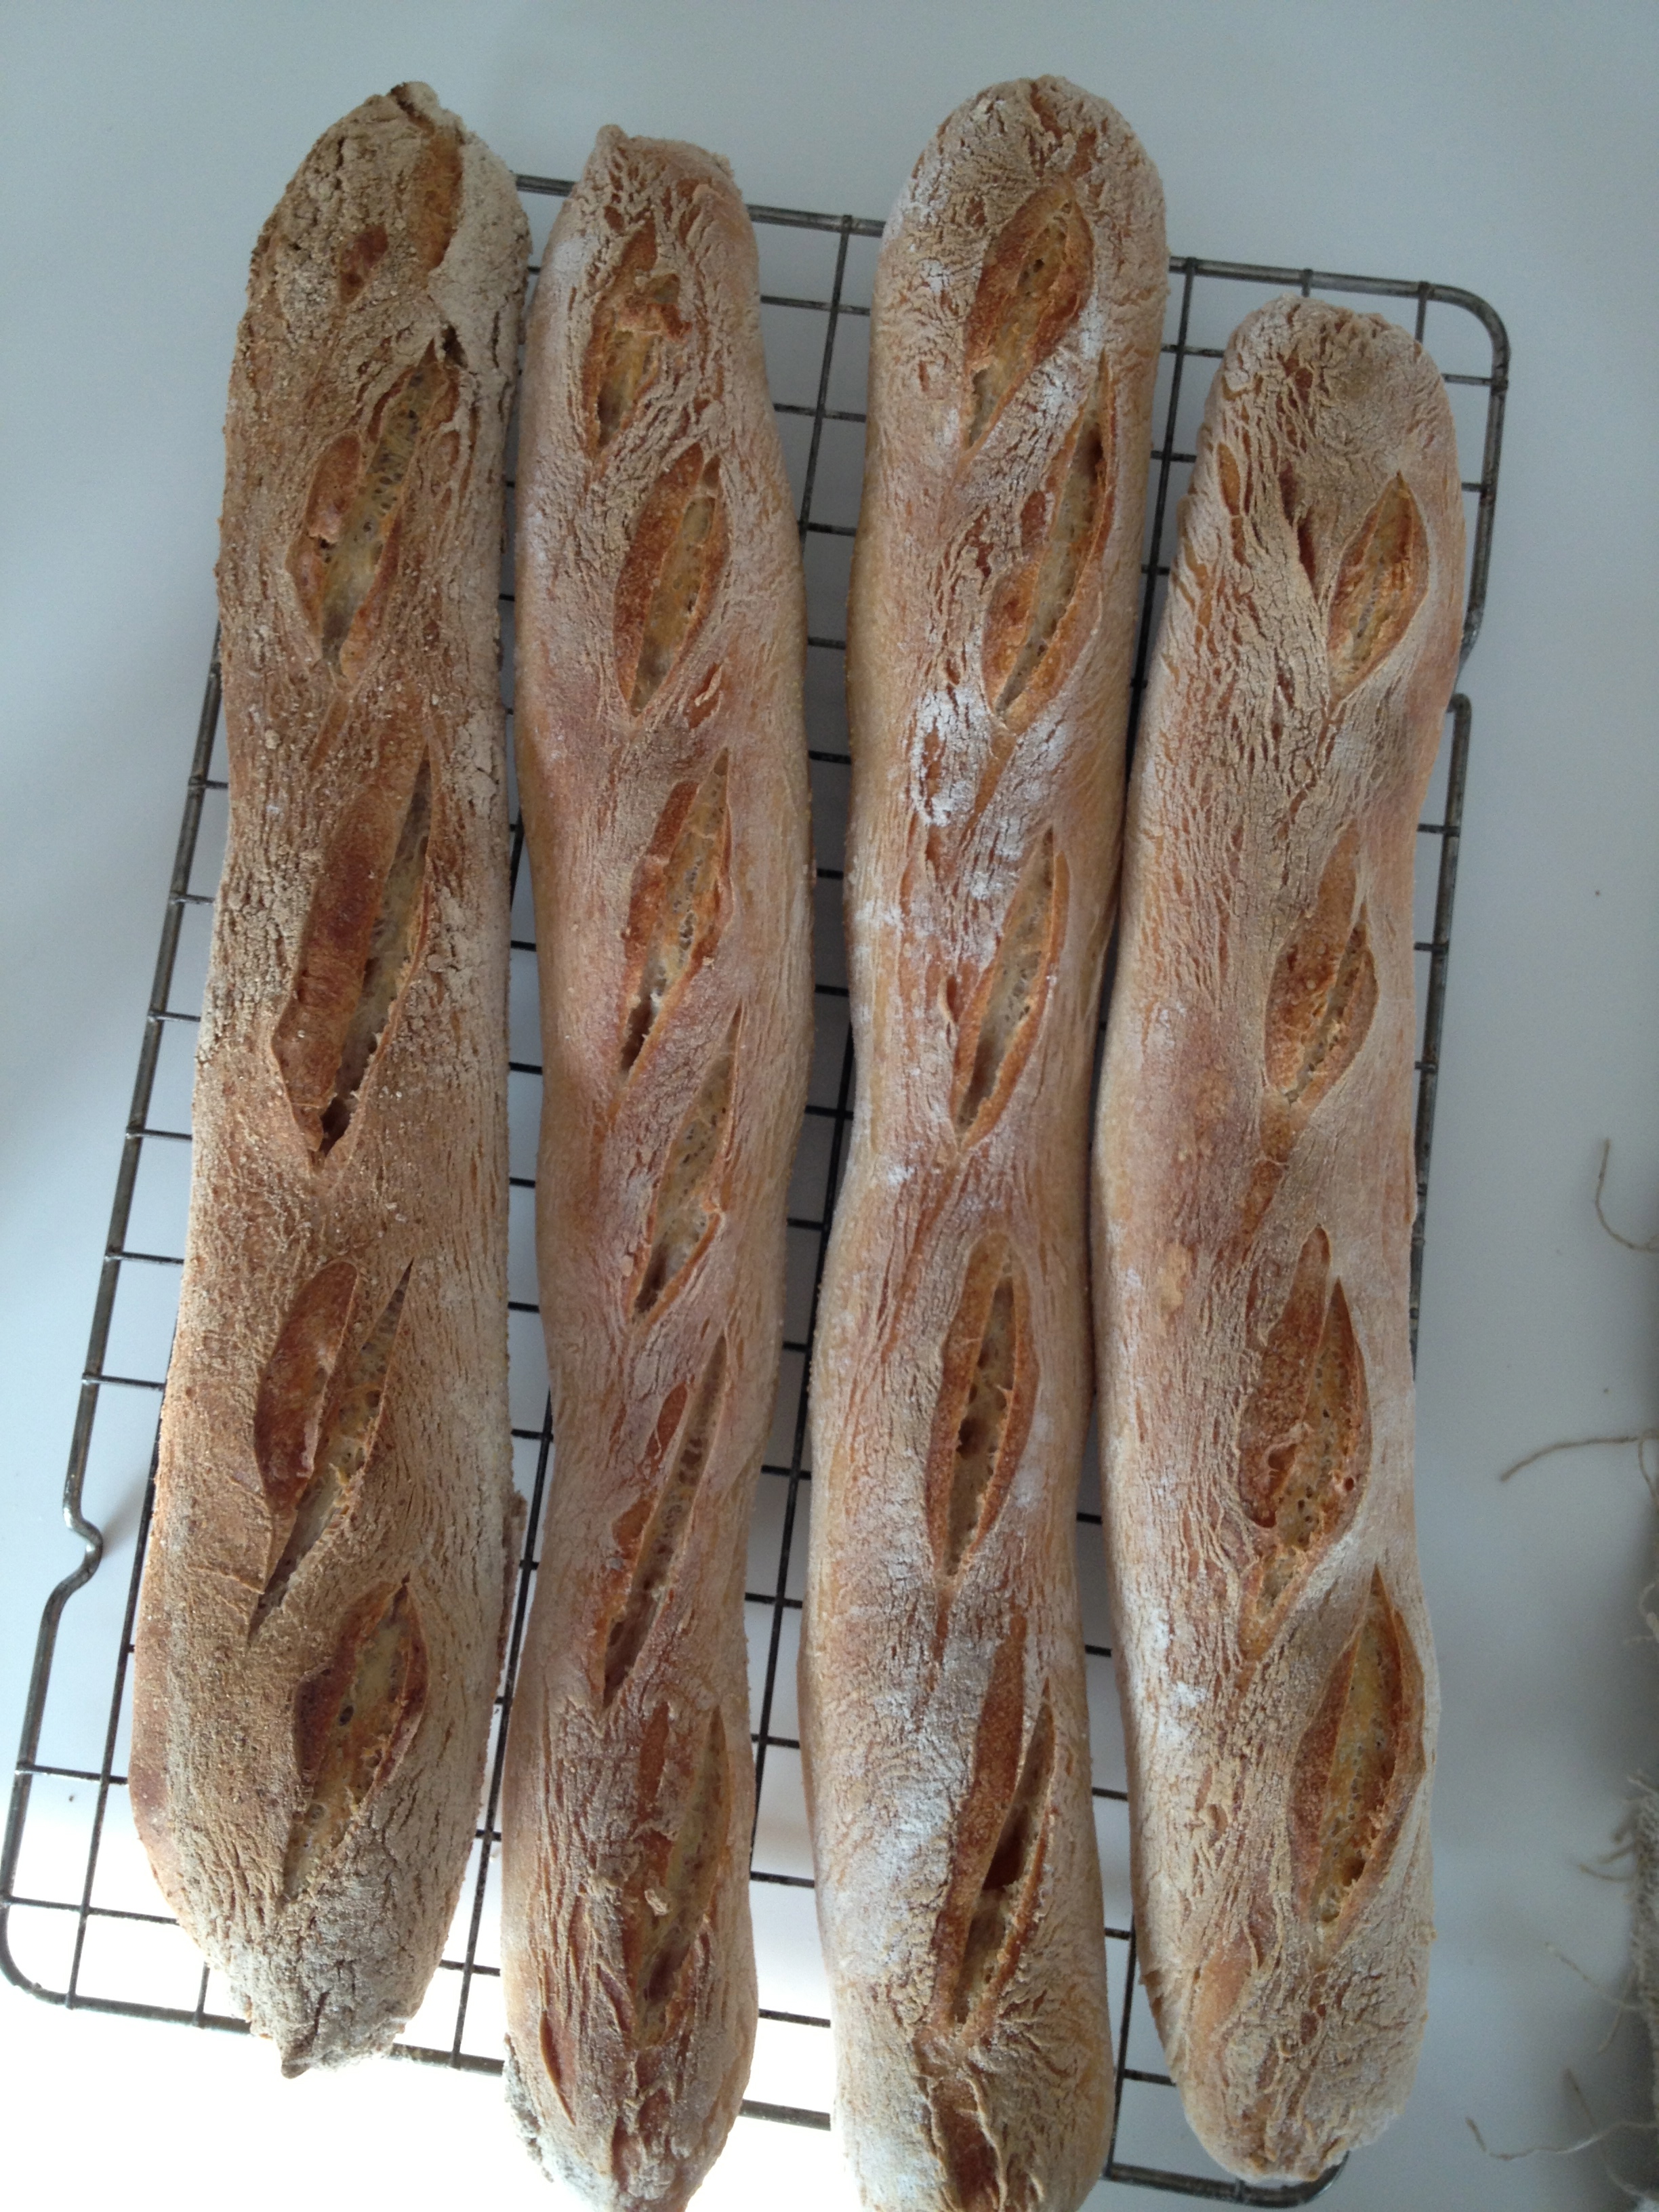
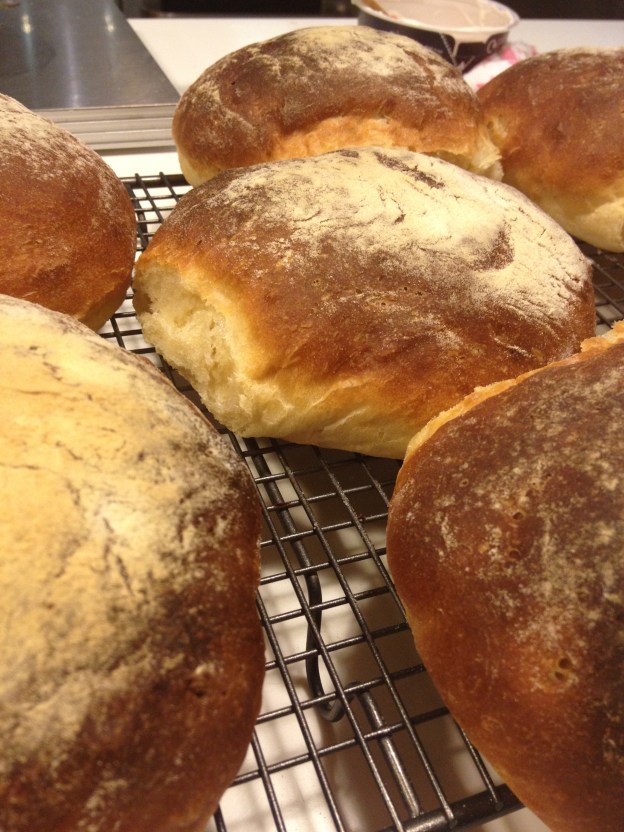
My first four baguettes, tasted great but shaping and slashing not great.

IMG_2403
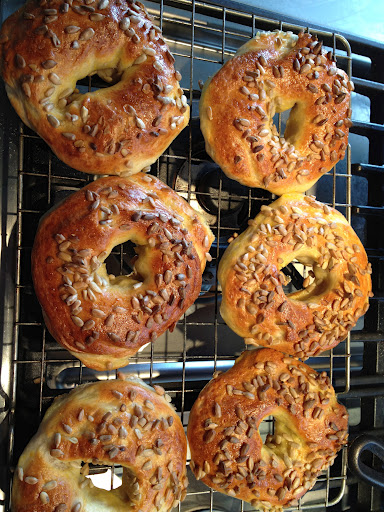
Next two. Better but not there yet.

Dan Lepard and the lovely Joanna from Zeb Bakes helped me with shaping and other tips. Joanna linked me to some shaping and slashing videos on line. Dan reminded me to put the bread into the hottest oven possible for the maximum amount of oven spring.

[The shaping video is here and the baguette shaping starts at 2.25. The scoring baguettes video is here.]

Because I really do think a baguette has to be made of white flour, I don’t really attempt to make it too healthy. But I did have, what I thought was a master stroke of genius and (because I just really struggle with adding 100% white flour it seems so unhealthy) I added 50g-ish of rye to my 450g of white flour. Okay so it’s not much but it stops it being made completely from white flour. I say this is a master stroke of genius in this way because after I did this, I read that Dan also recommends doing this to add a bit of nuttiness and flavour to an otherwise white loaf. So, you know, I felt really very clever.

Adding a bit of other flour doesn’t detract from the white-ness but it does add a certain something. I also find that sprinkling both the baking tin with polenta (so that it coats the bottom of the baguette), and the top of the baguette, lends even more certain somethingness.

The other thing to note is that with baguettes, I’ve found I really do need my grignette. So I had to find it in the back of my drawer. The videos I link to above show you how to do the slashes, as they’re quite particular. I can’t use a bread knife slashing baguettes.

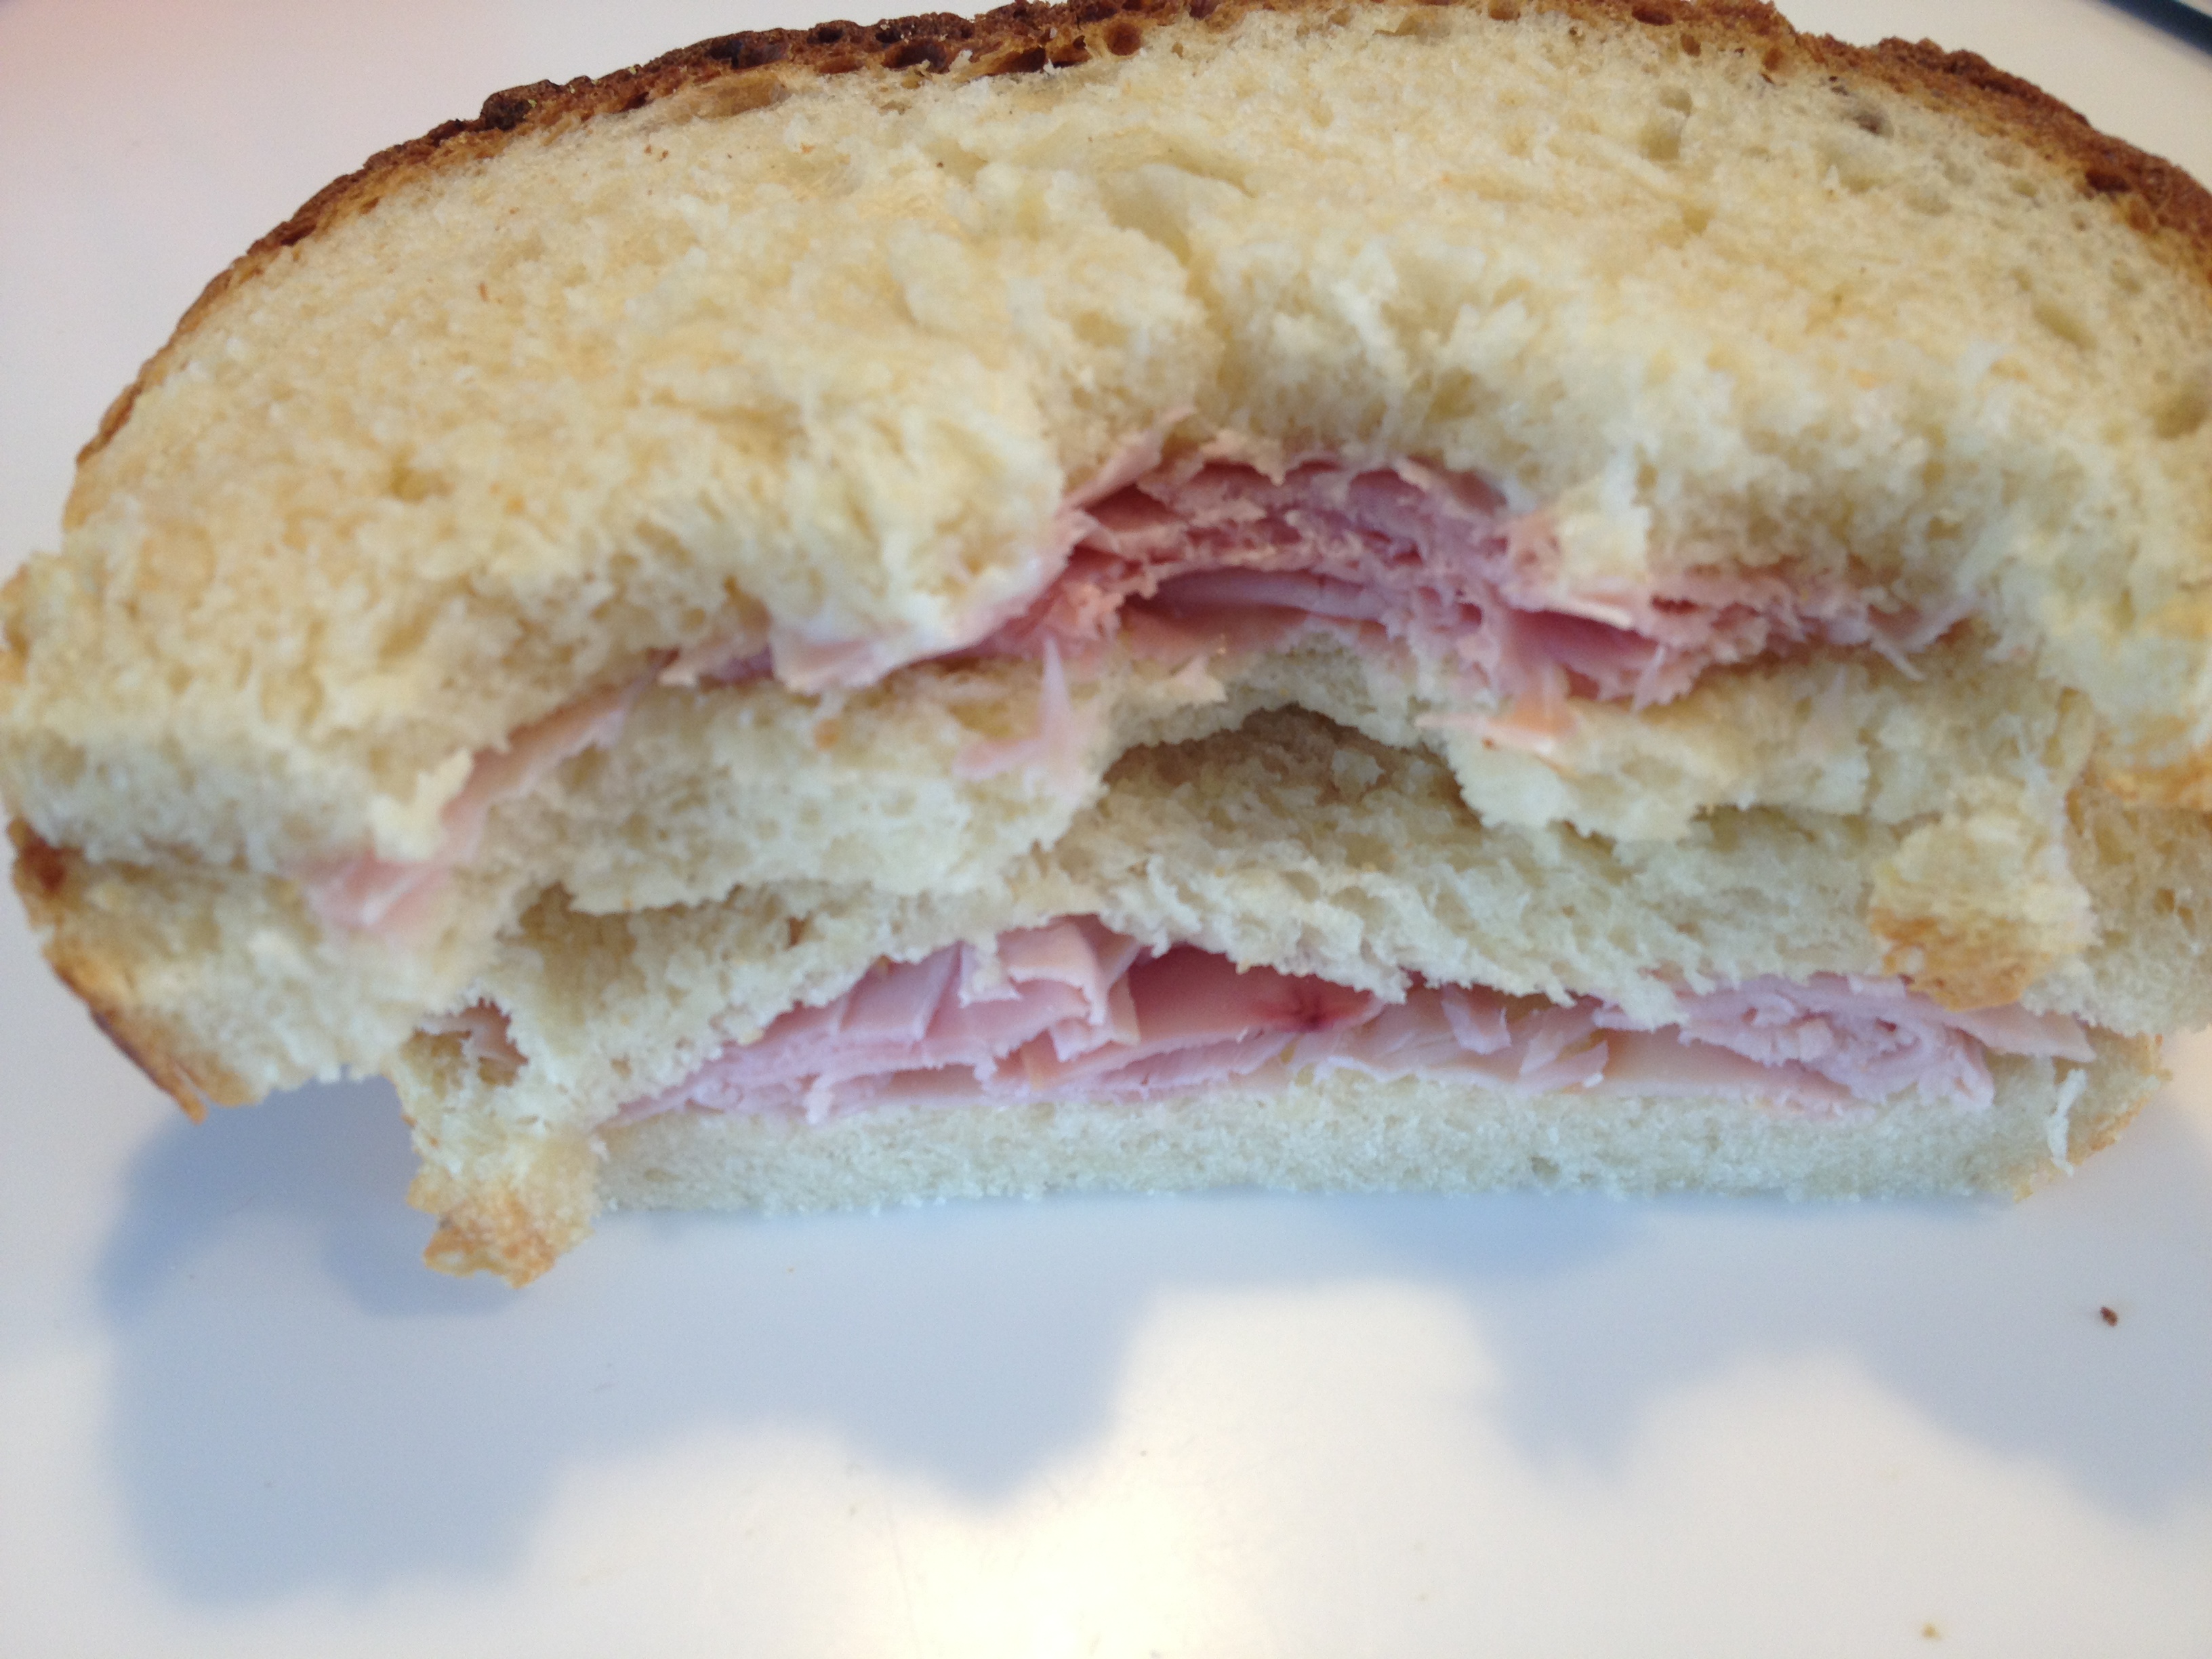
Anyway. I’ve now got it so that I wouldn’t say I’ve perfected the art of the baguette, not by any means, but I’ve got it so that I can make a pretty good one which, with some butter and apricot jam and a bowl of caffe latte, makes a pretty perfect breakfast. A bit naughty, without descending into something so bad for you, you want to start slashing at yourself.

IMG_2425

Do look at the videos for shaping and practise. It’s really worth it.

[The recipe I use is Dan’s standard white sourdough recipe from his The Handmade Loaf book, with 50g of rye added to the 450g of white bread flour instead of 500g of white bread flour.]

Watermelon and feta salad. The perfect lunch for a hot day.

IMG_2276

Eating watermelon makes me think immediately of southern Italy, where I spent so much of my childhood. It’s so evocative, it almost makes me want to weep.

Childhood life in Italy was so different to life in London. In London we lived in a two bedroomed flat in a mansion block in west London. Opportunities for roaming the streets were few and far between. In Italy, almost from the moment we stepped foot onto the dusty soil of my mother’s home village in provincia di Avellino, we were free. My mother had her mother, cousins, sisters etc to talk to, we had streets to explore and railings to climb and old houses to dare ourselves to enter. I spent most of my childhood summers wearing a pink and white towelling bikini, playing out with friends, until I was called in to lunch, or dinner, or ‘per la merenda’ (a mid afternoon snack). We frequently ate watermelon, spitting the black pips as far as we could, sitting in the shade of the porch, whilst the grown ups had their afternoon siesta.

This recipe is by Ottolenghi from his Plenty book. It doesn’t seem like much but it is plenty (ha ha). Ottolenghi says you should “eat this on the beach, or at least outdoors, on a hot day, with the sun’s rays unobstructed’. It’s a perfect summer lunch and basically, an assembly job.

You take some chilled watermelon which you’ve cut into wedges, some feta which you’ve cubed, some basil leaves which you’ve torn asunder and a small red onion which you’ve sliced thinly if you like (if not, leave it out). You put the melon and feta on a plate, sprinkle over the basil and onion if using and drizzle some olive oil over the top. That’s it. But don’t dismiss it because of its simplicity, it’s got lots going on.

The most AMAZING soft bread baps

My nine year old first made these with a bit of help from her dad. We needed something for burgers so my partner looked in my Dan Lepard Short and Sweet book. I was no doubt upstairs working, but when I came down to have one I could not believe how good they were. The memory of them stayed with me for weeks. The taste was amazing and they were substantial without being heavy.

I made them again recently to house a frankfurter. I have such a weakness for frankfurters and they are of course, mostly crap. I even went to a posh restaurant recently and ordered a hot dog. I can report that it tasted no different to the ones I buy in the supermarket (I do try to buy the best quality ones but, come on, they are hardly a health food).

Note that following the recipe just as it is, these make BIG baps. They were actually a little too big for me so I cut them in half. We froze half of them and late one evening, after we’d got in after a long drive home, we fished them out. They resurrected beautifully. My partner zapped them up in the microwave and they felt fresh and warm. I had one with just butter. I can’t even begin to tell you how good the flavour is, suffice to say that my mouth is watering at the memory.

Once you’ve tasted these, you will feel so cheated every time you eat a cotton woolly bap from the supermarket. And as they’re pretty easy to make, no excuse for not doing them, and freezing some for some very deserving burgers or sausages one Saturday lunchtime. Or hot dogs.

I’d make them smaller next time, so I’d end up with more, smaller baps, and no reason why you couldn’t make them in ‘finger roll’ shapes should you wish to, for sausages shapes. Or hot dogs.

I have a pretty ferocious oven and mine were done after about 15 mins. But do look at the original recipe here and check yours after fifteen and take them to the full 25 mins if you think they need them. Other than that, I had no problems.

Baking with fresh yeast. Milk loaf

When I was a child, my mother would cook regularly with fresh yeast. We would have pizza every Friday night, which she would  make in a large rectangular tin; leaving one small section free of tomato sauce for me, as I didn’t like it.

Then the local supermarket stopped stocking it and we bought it from this ‘exotic’ – at the time – little shop that was a Chinese health food shop and I’d have to go far into the back to find the small squares of fresh yeast.

These days it seems impossible to find commercially. Which surprises me given the resurgent interest in baking. Those who do buy fresh yeast either beg it from the bakeries of huge supermarkets or order it in in bulk.

I believe it was the latter that my friend Wendy did, as she took delivery of 2K of yeast. Wendy cooks and bakes ALOT and hangs out with professional bakers and really knows her shit where food is concerned (and antiques). Generous to a fault, she offered a large chunk of this purchase to me and thus it was that on Saturday, the postman delivered half a kilo of fresh yeast to my Suffolk mail box.

(n/b: Wendy tells me you can also get fresh yeast from local bakeries, but I have none near me.)

It had been decades since I touched fresh yeast. I’d forgotten how squidgy it is. But I immediately set about baking with it. When I first bought Dan Lepard’s The Homemade Loaf, the book that set me off on my sourdough journey, I was disappointed to see how many recipes called for fresh yeast. Dan helped me convert fresh yeast = dried yeast but the moment I have to substitute an ingredient for another I feel like I’ve failed (it’s okay, I’ve had years of therapy).

I have never cooked with fresh yeast so I started off with something simple, which is Dan’s Milk Loaf in the Handmade Loaf. It uses plain and strong bread flour, butter, milk, maple syrup and fresh yeast. It was so easy to make. Minimal kneading, then a final prove of an hour and a half. As it was very cold in my kitchen yesterday, I let it go a little longer. I’m so used to being upstairs working when my timer goes off for sourdough. And being able to play loose with timings, and just ignoring the timer, that when I came down to see the loaf, I was a bit shocked to see how much, and how fast, it had risen and for a moment worried that I had let it overprove. But no.

It came out gloriously. It looks like a pair of breasts (a friend thought this was why it was called milk loaf..) this is because you put it in in two ball shapes, although you could do it in whatever shape you want; and the crumb is superb. Wendy tells me this is not a traditional shape for a milk loaf, that it should be cooked in a cylindrical tin with ridges but I do not have one.

IMG_0613

We all had the most delicious ham sandwiches made out of it. It’s an old fashioned taste and not like anything you could buy. I adore my sourdough, but it was so nice to be able to have a loaf on the table in time for lunch, having just thought about baking it in the morning.

IMG_0614

Because I understand how incredibly frustrating it is being given a recipe which ingredients you don’t have, here are Dan’s milk loaf recipes containing more readily available dried yeast. I might try his chocolate chip milk buns next…

I froze the rest of the fresh yeast, in 15g batches in little sealed bags. Weighing it out, tipping them into those little bags. My eldest helped so we had quite a production line going.

Update. I made them into rolls and divided up half and put chocolate chips in them. The rolls make great sandwiches for picnics, the chocolate rolls make a nice, not too sweet alternative to a pain au chocolat, dipped into caffe latte.

IMG_0646

IMG_0647

Day after notes: This bread stales up pretty quickly. It makes great toast/toasted sandwiches though, so no fear. Also we just had it several days old made into French toast and I can report that it was excellent.

Roasted pepper, mint and halloumi tart

Don’t you think it’s kinda rich, when someone asks you what they can cook for lunch guests when you’re not one of the lunch guests?

This is how this post came about. My friend Marcus, who I’m going to now name and shame, is having people for lunch and the Barbieri family are not amongst the invited.

Shocking.

But I forgive him because whenever I need a chainsaw, he’s round with his special trousers on, and the chainsaw. He’s also a very good garden photographer who works for all those flash magazines that show garden porn and even though I have almost zero gardening recce skills (‘grass’ and ‘roses’ are the only two things I can name), I do appreciate a beautiful picture of pretty garden things.

So, he asked, what can I cook that’s easy? The two things that came to mind were either Gnocchi and Chorizo, which is delicious and really easy. Or my mint and halloumi tart which I’ve been making for ten years now, ever since I saw the recipe in Sainsbury’s magazine. However, for whatever reason, I’ve never posted about it. Probably because, rather shamefully, I’m a bit possessive about the recipe which is a meanness I have to fight against.

The mint and halloumi tart looks tricksy but it isn’t really. You can do it in stages, and I suggest you do. It absolutely isn’t something to start cooking an hour before your guests come. If that’s the sort of time you have then the gnocchi dish can be knocked up in ten minutes.

You can – and I do – make the pastry for this tart the day before. You can indeed cook the tart (it needs to be baked blind) the day before. You can also make the mixture the day before, keep it in a covered bowl, and an hour before your guests come, you bring the two together, pouring the mixture into the tart case and putting it in the oven. This tart tastes best when it’s about half an hour out of the oven: warm not hot. Anyway here we go.

the pastry

200g plain flour

25g polenta (I use the easy cook one that comes in packets but any kind will do, it’s to give the pastry a good crunch and I urge you not to leave it out)

125g butter, diced

1 egg

1 teaspoon of olive oil, just regular not virgin

For the filling

3 red peppers, now by all means buy some red peppers, roast them skin them and slice them up yourself but otherwise just by a jar of roasted peppers and cut them up if they’re not already cut up.

1 x 15g fresh mint, chopped up into nice small bits

1 x 250g halloumi, drain any excess liquid off, coarsely grate (the grating is my least preferred job)

3 eggs

284ml of single cream or half cream half milk which is what I use

freshly ground black pepper

to make the pastry

Put the flour, polenta and butter in a food processor and pulse briefly.

If you haven’t got a food processor you can do this bit with your hands, rubbing the butter into the polenta and flour whilst gazing out of the window or something.  Add the egg and then oil (just enough to bring it all together and remember it may take a bit of time to come all together) and it should all come together into a ball. If you do this in a processor, as I do, it comes together in about a minute. Don’t overwork it.

If you do this in a processor you should really take out the pastry and finish it off with your hands, take it out when it’s almost a ball, starting to clump, so you don’t overwork it. Less is more with pastry, it’s not a Versace dress we’re working on.

Shape the pastry into a disc and put in clingfilm or in a bowl or whatever and put in the fridge to let it rest for about 30 mins. You could easily leave it for a day or two if need be. But what I do, increasingly, is press it into the base of my pastry tart tin now, see below.

When you’re ready to cook the base, take the pastry out of the fridge. You need a tart tin. I know what you’re thinking, what size? I don’t know and I’m too lazy to go downstairs and measure mine.

Okay. It’s about 23cm, it’s one of those fluted numbers. I have two, a ceramic one and a tin one with a removable base and which I use depends on nothing more than whim.

Preheat the oven to 190C.

Now, you’re meant to roll out the pastry. I never do for bases of things. I take bits of pastry at a time and flatten them over the base and sides of the tin. This is very unorthodox but as I’ve mentioned before, I have cold hands and a cold heart so in my kitchen, this means the pastry gets worked less than if I rolled it out. Plus, you know, strictly speaking you should never put an Italian woman in charge  of a rolling pin.

When the base and sides are covered, line the base with foil and put baking beans in.

This isn’t the same as baked beans. Baking beans weigh down the pastry so it doesn’t rise. I’ve had baking beans since I was seven. I think mine are made of something highly toxic like lead but these days they are ceramic.

Cook the pastry case in the oven for fifteen minutes. Then take it out, take out the foil with the beans, and put the now naked case back in the oven for another 5 or so minutes.

Remove and cool the case. At this stage you can store it in the fridge, or a cool place like a larder if you’re posh, for a day or two.

Now to the the filling which, if you are making this tart all in one go you could have made whilst the tart case was cooking. If not just make it in advance and store it covered up in the fridge.

You basically whisk up the eggs, grate the halloumi, mix with the eggs, ground black pepper (you don’t need salt as the halloumi is salty enough), chopped mint, cream and lastly mix in the peppers.

It’s at this stage, when everything is mixed together, that you can store the mixture in the fridge, covered up, for a day. But when ready to cook, poor it onto the tart base, level out, stick in oven for 30-35 minutes until it’s nicely brown on top. Take it out and leave it for about 30 minutes. You can eat it cold too of course. But, it’s particularly delicious eaten warm with a crisp, slightly bitter salad. Or steamed asparagus, a new potato salad, etc.

You can also take it on picnics or sliced up in a lunch box.

Sorry for no photo of an actual one I’ve made (it’s a photo of a photo, shocking), but I’ll take one next time I make this baby. [Several years on and I still haven’t taken a photo of mine.]

Bagels – not sourdough

These bagels are not just not sourdough, they’re made in a breadmaker. Nevertheless, here they are, all blousey and almost industrial compared to my artisan sourdough.

But look: they’re delicious. Nothing at all like bought bagels which may look surgically enhanced but are as interesting as dust to eat (although if you remember that fantastic sketch from Little Britain, dust is a valuable diet food…). The only memorable bagel I ever had out was at the Geffrye museum cafe, I had it with smoked salmon and a very fine cappuccino. A memorable little lunch that shows food doesn’t have to be fancy to be remembered.

So, my bagels. I’ve been making them for years and the recipe is from some bread machine book I had but adapted slightly (in what way I can’t remember now but anyway it works which is what matters). They don’t look pretty – ignore that and just enjoy the taste.

These are excellent for children – they just love them. In which case I make them smaller and end up with 12-16.

For eight large bagels you need:

2 teaspoons of dried yeast
450g strong white bread flour
1 1/2 teaspoons of salt – I grind up Maldon sea salt
1 1/2 tablespoons of sugar – I use caster
230ml water, whatever temperature it comes out of the cold tap.

egg or malt wash – see later

baking tray
clean tea towels
saucepan and slotted spoon

I put it into my bread machine, which is a Panasonic bread machine and the only sort I recommend. Your bread machine may ask for the ingredients to go in in a different order but mine asks for the yeast first. You then select the dough cycle. Mine is 2hrs 20mins long. Be careful not to put it on a short dough cycle (mine also has one for pizza which is 45 mins long) as it won’t work.

In the meantime, get a baking tray

When the dough is ready, you divide it up into how many bagels you want. This mixture makes eight regular sized bagels, but I have made more mini ones. I roll each piece of dough between my palms to make a ball. I rest them for a few minutes (in reality you can start on the first one by the time you’ve done the last one if you follow), then roll them into sausage shapes and loop the ends around. This isn’t a regular bagel shape – none of that perfect roundness – but honestly once baked you won’t care. It’s the best way, I’ve found, of keeping the hole intact.

As you shape them, place each one on a lightly oiled baking tray or one with baking parchment on it – make sure they’re not touching or you’ll have a hard job separating them and they might collapse as you manhandle them. When they’re all shaped, leave them to rise, covered with a dry, clean [why do they always say this, does anyone use a dirty one?] tea-towel ** for about 10-30 mins (30mins if your kitchen is cold, 10mins if it’s warm or you put them in a warm place). There’s a lot of yeast in them so don’t overprove.

**Note here: you can – and I regularly do – also put them, at this stage, into a refrigerator overnight for their rise, and then go straight to boiling them. I think this gives them a nicer flavour and chewier texture and it also means you can have freshly baked bagels for breakfast.

Whilst they’re resting and puffing up, put a big saucepan of water onto boil and preheat the oven to 220C/Gas 7. I use a casserole dish pan which is shallow, but wide. You don’t need the water to be deep deep, as the bagels will float, but if you have a wide aperture then you can get more in at once.

When they’re done and the water is on a rolling boil, put the bagels in to the pan. Unless your pan is a huge paella pan, you will have to do them in batches – that’s fine. You boil them for about 30 secs each side (so turn them over with the slotty spoon). Watch them puff up more. Take them out one at a time with the slotted spoon and place on a clean tea towel to drain them and do the next batch til they’re all done.

Either get a clean baking tray and oil it lightly, or wipe off the last one you used and re-oil it. OR if you’re like me and have one of those reusable baking sheets that you used to prove the bagels on, you just now put them back on them. But either way, place the boiled bagels onto the tray. It’s fine if they touch, because once cooked they’re more stable than at the proof stage, so you can tear them apart. But if you can do them so they don’t touch all the better. Mine are always crammed together as that’s the only way you can get them cooked all in one go and at this stage – i.e. proved and boiled – you don’t really want them hanging round waiting to be baked for longer than necessary.

Once the bagels are on the tray, you’re on the home run. Either make an egg wash of beaten egg, or use this fabulous dried malt extract which I mix up with some water and brush on. You can then either cook the bagels plain or scatter on some sesame seeds, pumpkin seeds, sunflower, linseeds etc.

Cook for 12-15 mins (this is in my oven, yours may differ). They’ll be a lovely dark golden brown when they’re done.
These keep for a day or two but are best eaten on the day of being made and toasted thereafter. They freeze really well – just freeze when cooked to have lovely fresh bagels another day!

The shaping is getting better..

Cherry Bakewell Slices for a picnic

The Bakewell slab, before it was liberated into slices. Please note how crumbly my pastry is thanks to my super cold heart and hands.

We went to Southwold at the weekend, and central to this, central to most trips in my life, was a picnic.

We had everything other than something treaty to take with us (like sourdough bread, home made coleslaw and pork pie aren’t treat enough, spoiled bastards that we are). I had some ground almonds I wanted to use up and decided to make individual little clafoutis, until I found out that mostly the recipes I had for clafoutis didn’t really involve ground almonds and anyway I didn’t have enough cherries. But I did have a can of ‘black cherries in syrup’ and lots of ground almonds.

What could I make?

I make a really superb (look, there’s no immodesty in the truth) Bakewell Tart, the recipe for which came from the Waitrose magazine long ago. Believe me when I say you don’t need to search for any other bakewell tart recipe as the Waitrose one cannot be beaten.

But I didn’t want a bakewell tart. I wanted little individual things to pick up. So I thought: bakewell slices.

So I adapted the recipe slightly. First I made the pastry:

200g plain flour
2 tablespoons icing sugar
100g cold unsalted butter, cubed
2 egg yolks
(you may also need a bit of extra water).

I whizz the flour, sugar and butter in my Magimix, then add the egg yolks and a bit of water if necessary. Don’t overdo it with the water and try to keep the pastry so that it’s just holding together, it shouldn’t be all smooth and one big ball. If you haven’t got gadgets of course you can do this with your fingers and then use a fork to mix the yolks in or something. I don’t know, it’s ages since I didn’t have gadgets.

I never roll out pastry. Life is too damn short. It’s not too short to make your own pastry though cos shop bought really isn’t the same and how long does it take to weigh out a few ingredients and slam them in a blender?

When it’s blended, I just take bits of the pastry and flatten it out into the bottom of whatever tin I’m using, welding it all together with a thumb like a giant pastry jigsaw. In this recipe I used a small Mermaid roasting tin which is about 30cm by 23cm. I lined it first with baking parchment/paper.

Then when you’ve covered the bottom of the tin with pastry in this piece meal but completely acceptable fashion, chill the pastry for about half an hour (perfectly do-able to chill for longer of course).

In the meantime, preheat the oven to 190C. When the pastry has rested, cover with foil, pour on baking beans (sorry, apparently you can use rice too, never tried it, I’ve had baking beans since I was seven, I’ve always been very serious about pastry). Bake blind (this means with nowt in it but the baking beans on the foil) for 15 mins. Then remove the beans (take care they’ll be hot) and bake for a further five minutes.

The filling part 1

Now I have a problem with jam. It’s just too damn sweet. The only shop bought jam I really like is Bonne Maman’s apricot conserve, although I can’t eat the chunky bits of apricot as they scare me. When I make my Bakewell Tart, I use strawberry jam, very thinly spread. But I had that can of black cherries in syrup that I was determined to use up.

So I poured the whole contents of the can into a saucepan and boiled it until it was mush. This takes about 10-15 mins. It makes for a really nice fruity layer which isn’t too worthy (it has got syrup in it after all) but isn’t as teeth-jarring as jam. *See note at bottom. Just use jam or compote if you don’t have cherries in a tin.

Whilst you’re reducing the cherries in syrup, make the filling pt 2:

125g caster sugar
100g very soft unsalted butter
3 eggs
half a teaspoon of almond extract
150g wonderful ground almonds (I LOVE ground almonds)

Mix the butter and sugar together until it’s light and fluffy, this is quite a good work out for your arms and you’ll expend about 12 calories to offset against the calorific value of these slices, then add the eggs, one at a time, mix well, la la la,  then the almond extract and finally fold in the ground almonds.

Spoon the black cherry mush onto the pastry case, then on top spread the topping. It looks like you might not have enough but unless you’re using a giant tin, in which case you haven’t read my instructions, you’ll be fine.

I also like to top it all with flaked almonds, like a handful scattered on top. You can never have enough almonds, rich in protein (so they bring down the GI of anything), calcium and essential fatty acids. How can you go wrong. Unless you’re allergic to nuts of course.

Cook for 25 mins or so, the top should be definitely golden, not pale blonde. When out, tie your hands behind your back and dive in face first. Or alternatively, slice into Mr Kipling type slices, big or small depending on what suits your psyche. You can also drizzle some icing on in that fancy filigree way (50-75g icing sugar with a few teaspoons of water, do it slowly so you have a fairly thick mixture, not too runny but not so thick it blobs on). I do like icing, but remember you’re adding on a whole heap of sugar for that bit of icing, so go easy.

These keep lovely in an tin for a few days and make lovely treats. My boyfriend cries slightly when he eats one.

*update. March 2014. I made these today and I did exactly what it says up there. But. I found that this time, the cherries weren’t enough to cover the base. I’m not sure if the tin was smaller (I don’t think so). I did use a different make so maybe they were just different. Anyway, the point is that I realised that not all tins are equal and I’d hate for you to make this and it not work. So have some jam or compote on stand by just in case, or you know, FORGET THE GODDAMN cherries in a tin altogether and just use jam or compote. It’ll be cheaper, too.