Fair warning that this isn’t a new recipe. I first published it here, but it’s a little hard to find and, in real life, I refer to it a lot so I thought it needed a renaissance. Plus I don’t use a bread machine anymore. But these, made into breadsticks, are my new breakfast obsession.
The idea came because last week after recording a podcast in London, which took an enormous amount of brain power, I had an excellent and enormous chicken salad sandwich at Honey & Co and even though the sandwich was enormous, and fancying something else (but not able to eat cakey things) I spotted a big fat doughy bread stick covered in seeds. I bought it and it was delicious. I managed to save half – the restraint – for my breakfast the next day.
I would imagine that the Honey & Co breadsticks may have been a chollah dough but not sure. It was ‘sweet’ (relatively speaking) and rich and I determined to recreate when I got home.
Which I did the very next day using my years’ old enriched dough recipe.
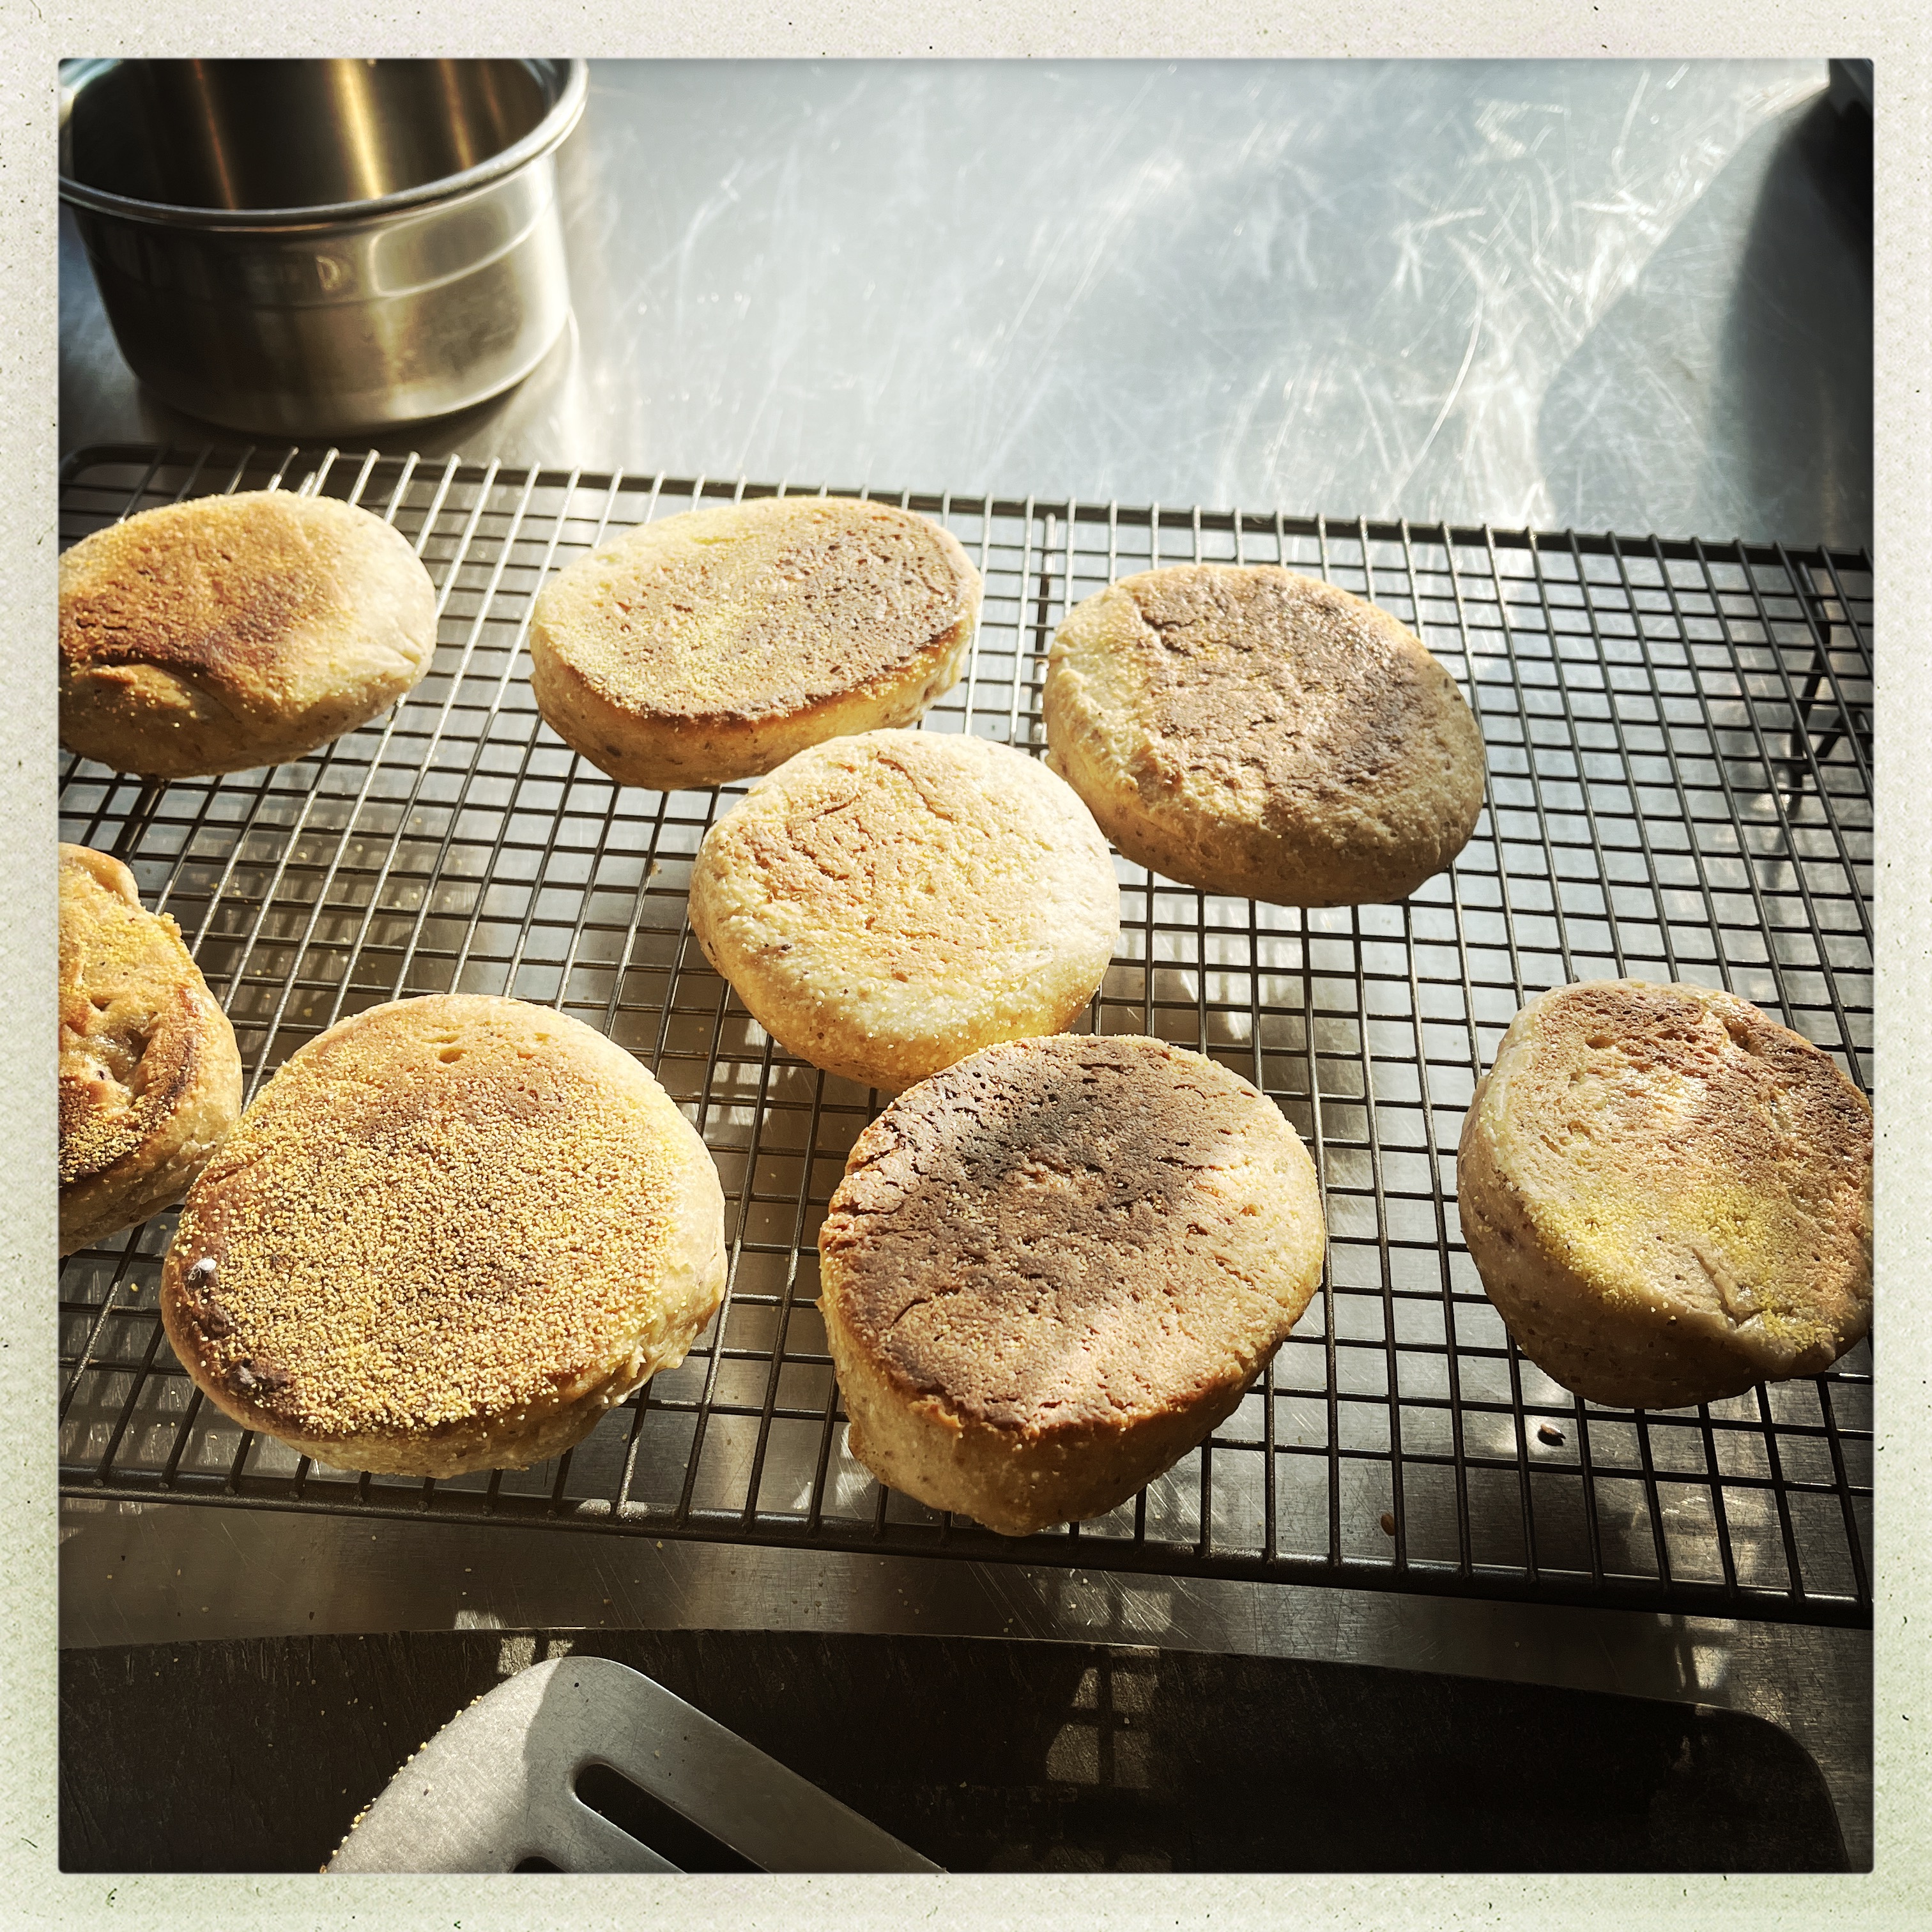
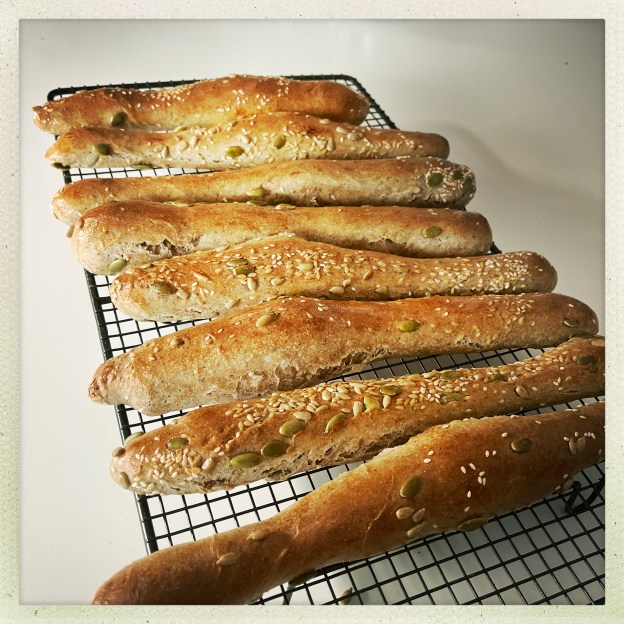
It works very well. You can easily halve this dough, or augment it further but this, for us, makes eight breakfast brioches in mini loaf tins (I use this one and it’s fab) or you could use it to make two ‘stollen’ shaped loaves or I make eight seeded bread sticks.
Ingredients
A teaspoon of dried yeast (I use Dove’s Farm)
500g strong white bread flour (if I want to make these healthier I sometimes add a proportion of wholemeal. I have gone as high as half and half but you do lose something, so 150g wholemeal/350g white is a good compromise)
2 teaspoons of caster sugar
25g butter or vegan alternative (I use this)
Two tablespoons of milk, dairy or plant alternative. I use oat
A teaspoon of salt
2 eggs
170ml water
Inclusions: see below.
Beaten egg or milk to brush before baking
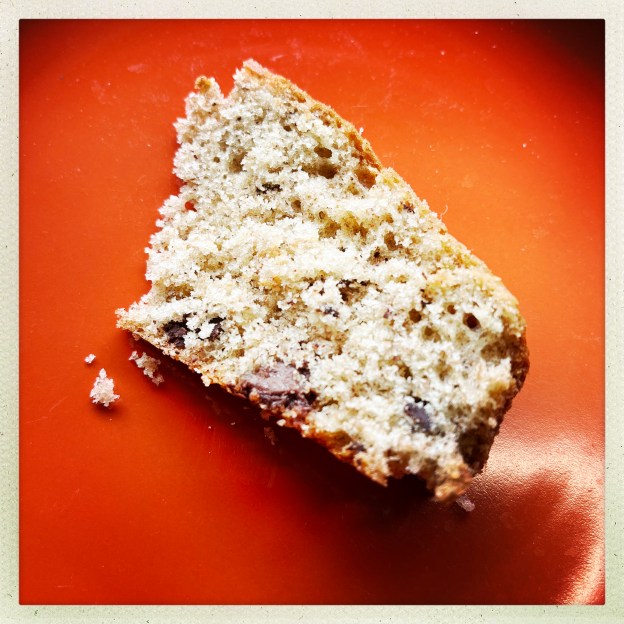
If you want to make the brioches you need 160g of chocolate chips. I also add about 50g of flaked, toasted almonds. If you want to make the bread sticks then you need some seeds – hard to say how many, but like a handful of mixed seeds. You can also make this into two loaves and add nuts/dried fruits in which case I’d not go beyond about 160-180g of inclusions.
What you do is put everything into a mixer with a dough hook, except the inclusions which you can add at the last minute. I do this in a food mixer and knead for ten minutes.
You then leave it, covered, at room temperature for about an hour in a temperate room. If it’s super hot it may need a shorter time, if it’s cold maybe a bit longer. I know this is hard to gauge, and hard to explain.
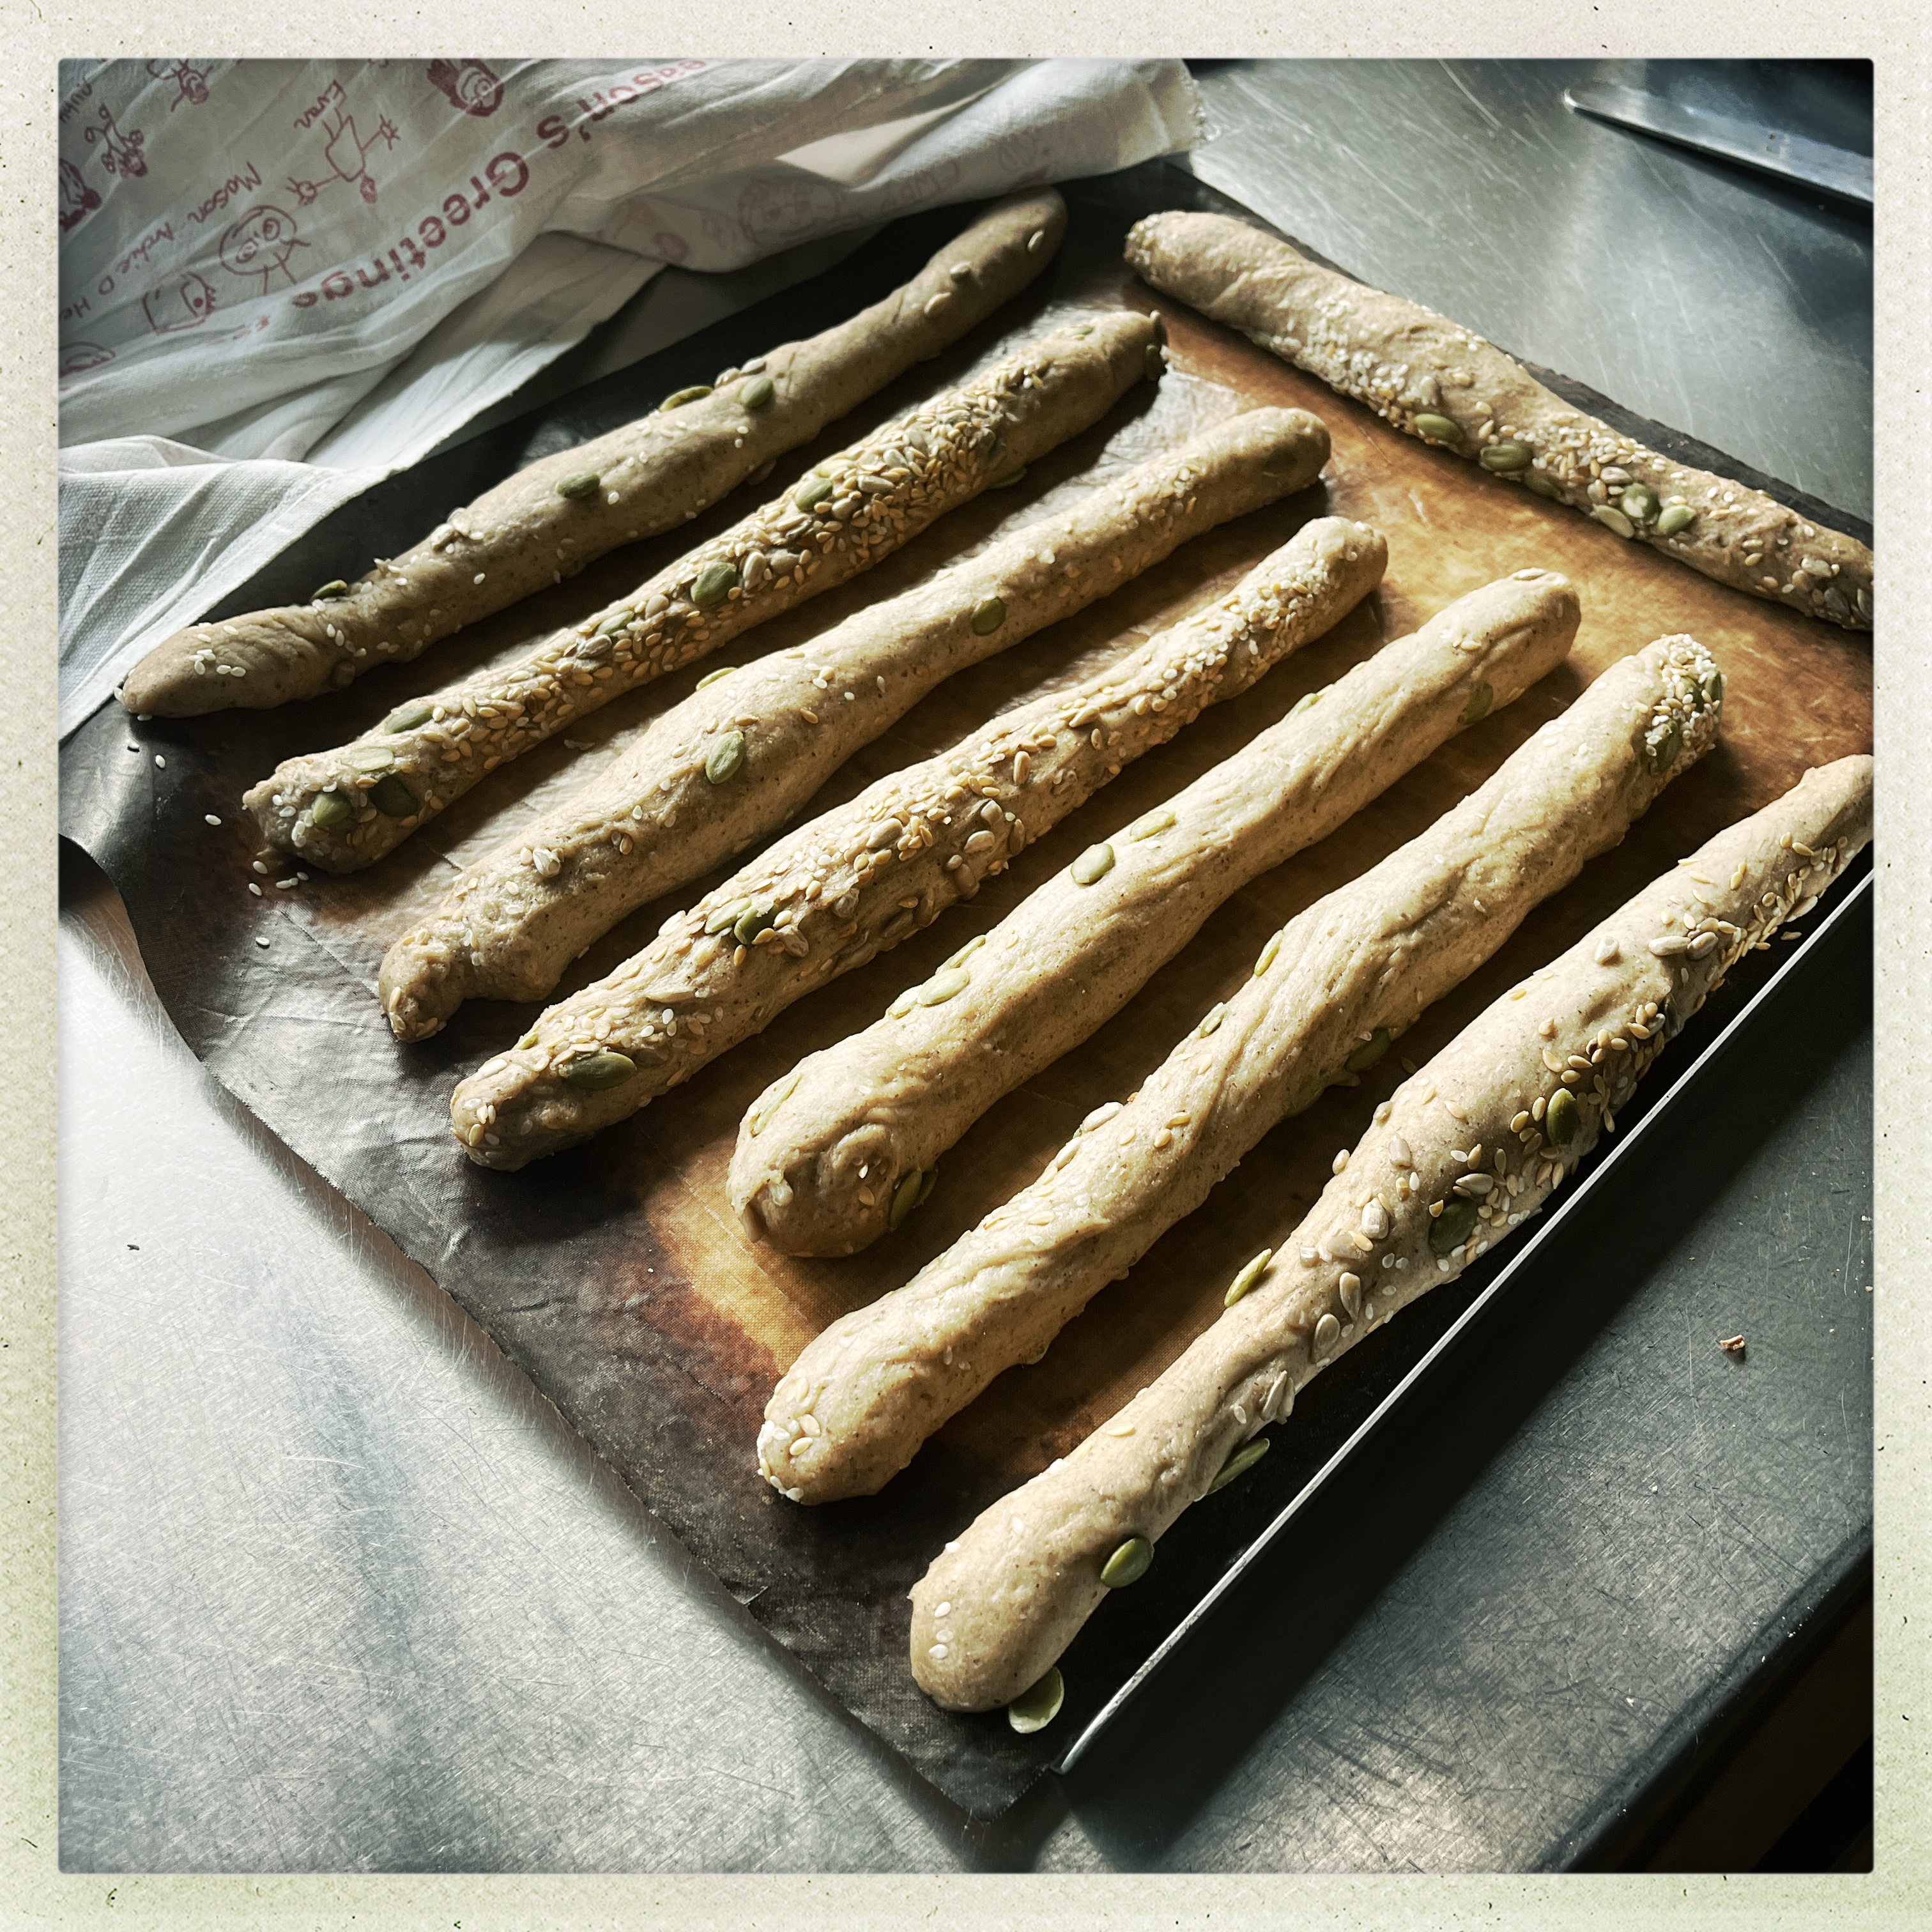
At this point you then shape the dough into whatever you want it to become, what will be its destiny? If using a mini loaf tin I gently oil the tin but otherwise I put the shaped dough – sticks or two loaves – on a parchment lined tray and put in the oven overnight. This is, for me, the easiest way to deal with these babies. I leave the final, shaped, prove to the fridge. But if you want them sooner than that I’d give them another hour or so at room temperature
When ready to cook you do so at 220C for between 10-25 minutes depending on what you’ve made – see below. Brush with beaten egg or milk first.
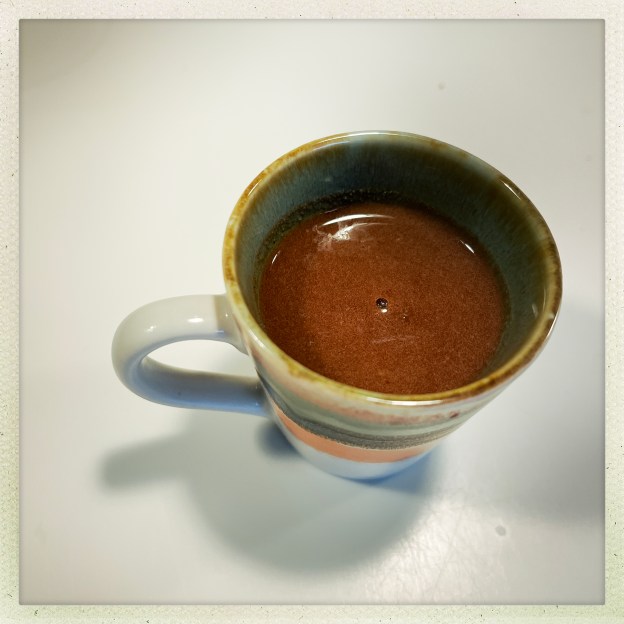
They freeze really well and the breadsticks are great in the morning (I dip mine in my coffee (I’m Italian) and love love love them, for me they are the perfect gentle breakfast and when you don’t eat pastries they are heavenly) or of course you can use them for dips. They make great lunchbox/picnic fare and travel well.
My youngest has the brioches with chocolate chips and nuts most mornings and i used to make these in loaves with nuts and dried fruit for my mamma. I hope you enjoy them!
Small brioches take 10mins, bigger ones take about 14mins.
Two loaves take about 20-25 – check after 20
Breadsticks take 12 mins