I’ve been making sourdough for fifteen years, either in a boule shape or a baguette shape or, sometimes, as little rolls. But the thing I really wanted at times was a soft sandwich loaf, but made with a sourdough starter.
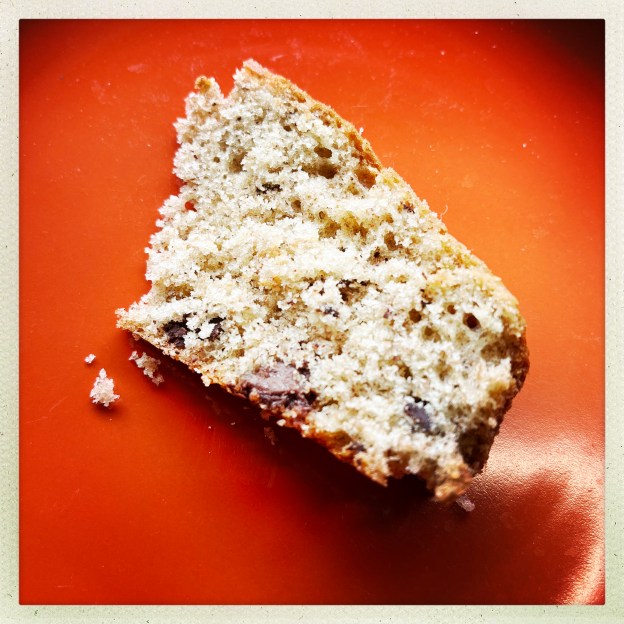
There are lots of recipes for such going round the internet and this is one and it’s lovely. I sometimes add a bit of wholemeal flour, or some seeds, but there’s no doubt this should be predominantly white flour for that full soft sandwich experience. The one pictured here used a wholemeal starter but otherwise 100% white bread flour.
It makes for a very soft loaf that produces great sandwiches and is nothing like its crusty trad-sourdough boule cousin, lovely though that also is. Also fantastic toast. Some recipes I’ve seen use butter, in the dough and to brush the top with, but I don’t eat butter so I use olive oil. This makes two small loaves or one big one. I make mine in my Pullman bread tin which is 33cm x 10cm. I’ve yet to leave the lid on all the way through cooking to make a perfectly square loaf. What I do is leave it on for the first 20 or so mins then take it off for the last 10/15 mins.
Anyway this is what you do:
600g bread flour, white or a mix (see intro)
300g tepid water
150g sourdough starter
30g honey
30g extra virgin olive oil
10g fine sea salt
This is way easier and less hands on than traditional sourdough and you rest it in the tin you will cook it in, so no banneton needed. What I do is put everything in a stand mixer and mix it up with a dough hook for ten minutes. Then I rest it for an hour and give it a gentle knead and fold after one hour, then rest it for another hour, then give it another gentle knead. Then I place it in the tin it will be cooked in (I sort of roll it up like a giant swiss roll but you can also shape it into two boules and place them end to end) and let it rise at room temperature for as long as I have but until it kinda doubles in size.
Then I put the lid on (but if you don’t have just cover it with a tea towel) and put it in the fridge overnight.
In the morning I take it out and leave it at room temperature just for as long as the oven needs to come up to temperature: 250C.
Then I put it in the oven (if you have a Pullman, with the lid on if not do I need to point out you don’t put the tea towel in the oven?) for 15 or so minutes then take the lid off and let it cook for another 15/20 mins at 220C. As soon as it comes out coat the top of it with more olive oil (or melted butter).
It keeps really well for several days and like I said makes great toast.

Sourdough sandwich loaf
Leave a reply