The internet is not short on brownies containing once-improbable ingredients such as black beans, sweet potato etc. I’ve always avoided them. If I want cake, I used to think, I’ll eat cake. If I want beans or vegetables, I’ll eat those.
Well that was before. Before I was on a medically prescribed diet and before it had been a year since I’d eaten cake. And when that happens, you do look for alternatives because there are only so many times you can look at someone eating cake whilst you eat nuts.
I have a love/hate relationship with Tim Spector and I’m not sure why. I was an early adopter of the Zoe app, but I have an unease now about the whole thing. Nevertheless I bought – and very much like – his book The Food for Life Cookbook because when your diet is pretty restricted you do look for inspiration.
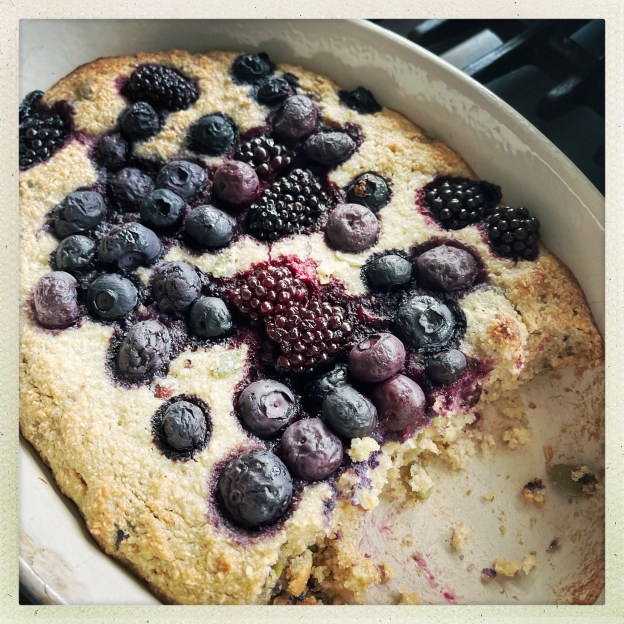
My diet is now pretty plant based which is the most rounded way of saying it, although as you’ll see this recipe does contain eggs. There are couple of recipes in Tim’s book which I have adopted and adapted. This clafoutis is one of them. And now, these brownies are another.
This is probably the most cakey cake I have made and been able to eat in eighteen months. Certainly the most chocolatey. As such I almost wept eating it. I honestly have no idea what it will taste like to the rest of the world as my taste buds are now so altered I can’t tolerate too much sugar. But give it a go and see how you feel.
You’ll need:
90-100g of very dark chocolate. I used 80/85%. Go lower if you want but I wouldn’t go lower than 70%.
250g of cooked beetroot in those vacuum packs (the original recipe asks for 280g but my pack had 250g so that’s what I used)
60g of dark brown sugar (the original recipe asks for 150g, this is way too much I think)
200ml of olive oil. I used extra virgin, thus making this cake worth about £25
3 eggs
One teaspoon of baking powder
200g ground almonds
a pinch of salt – really important
1 heaped tablespoon of good cocoa powder
Flaked almonds
What you do:
Preheat the oven to 180C/350F and line a 23cm square tin with baking parchment. I guess there’s no reason you couldn’t make this in a round cake tin in which case I’d probably go for 20cm/8″. Line it though because no-one wants to be cryin’ trying to get it out of the tin.
Break the chocolate up into the smallest pieces you can manage and melt the chocolate in a metal bowl over simmering water being sure not to let the water touch the bottom of the bowl. Take off just before the chocolate is all melted and stir it. Set it aside for a bit.
Whizz up the beetroot until it’s a puree. I have umpteen gadgets but I use this Ninja Mini Blender a lot and I use it here.
In a large bowl whisk together the olive oil and the sugar, then add the slightly cooled chocolate and the beetroot, then the eggs. Then add the ground almonds, baking powder, salt and cocoa and prepared to get excited.
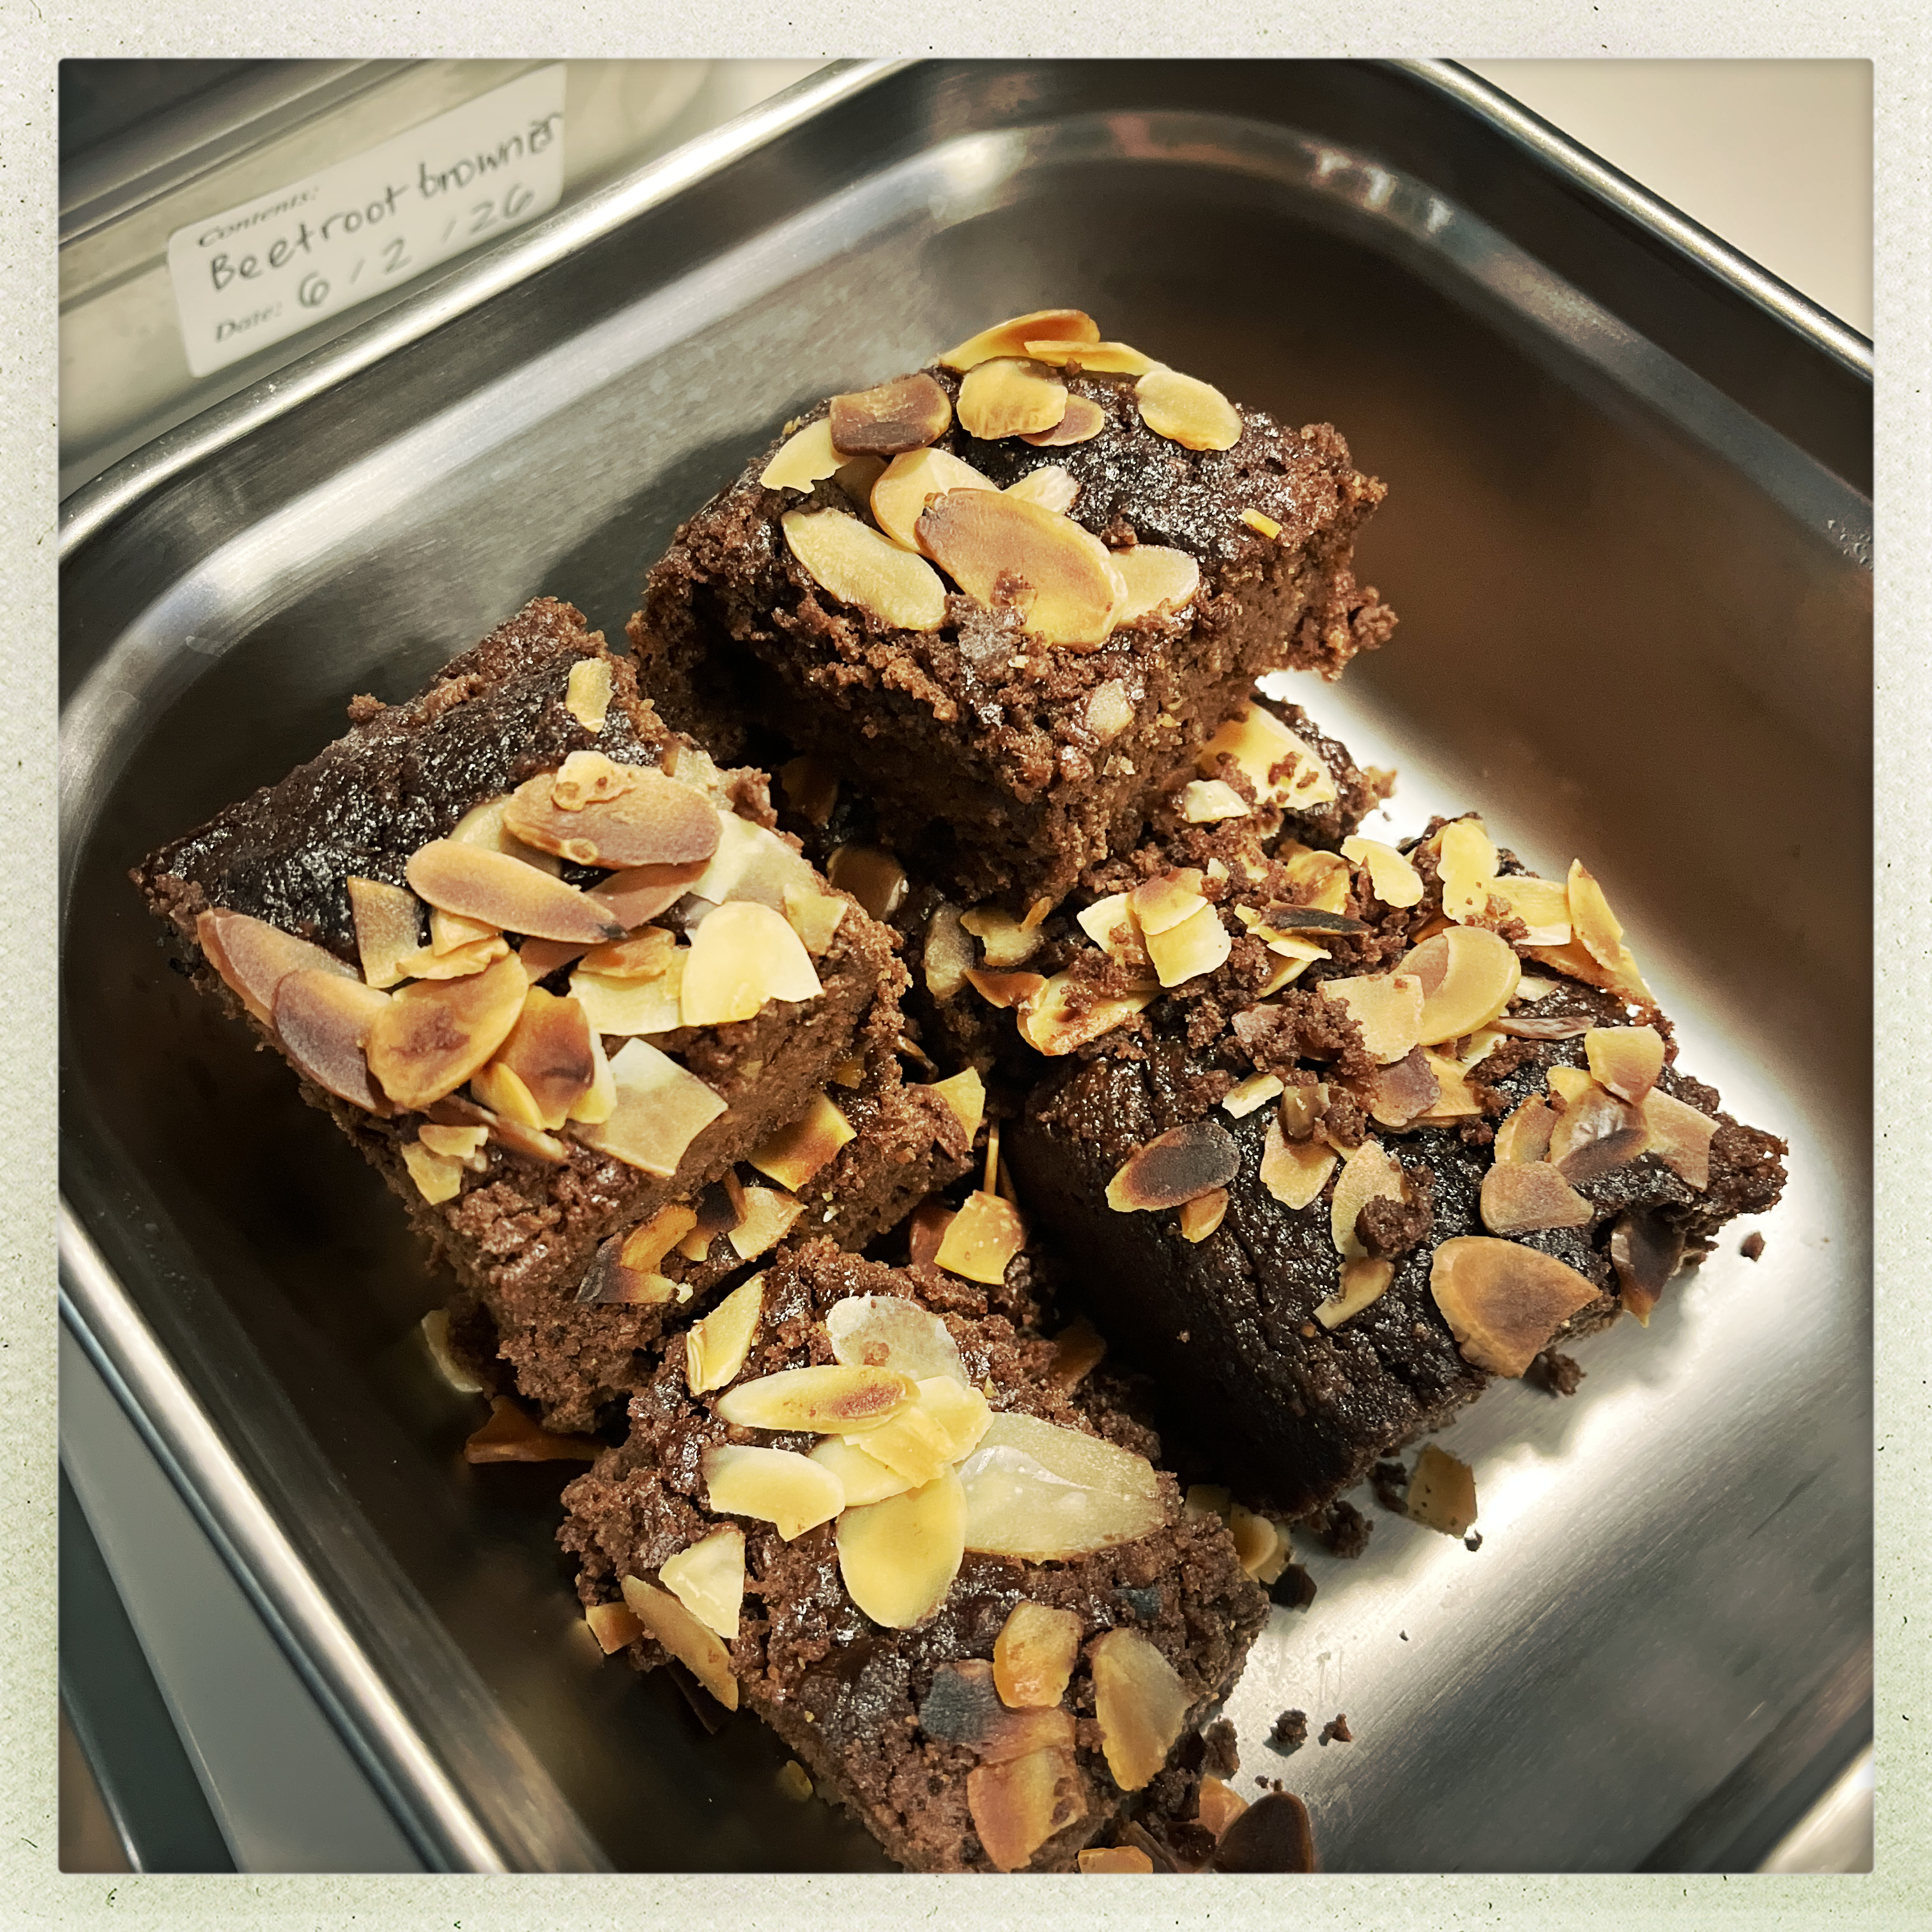
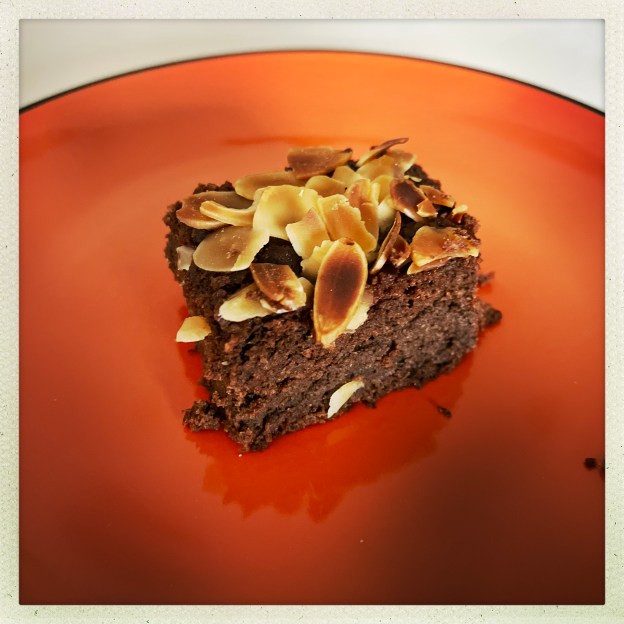
Pour into the tin, smooth out as best you can and top with many flaked almonds (note: don’t buy those that are ready toasted as they will get plenty toasted). Bake for 45 mins. Mine took exactly that.
It’s impossible to describe how much I loved these. You can serve with yoghurt of your choice but the joy it gave me, having a square of these will stay with me for a long time…I keep mine in the fridge.