This is a delicious, easy, stand-by meal. The ingredients all have at least a week’s life-span (the majority a lot longer) so you can get them in, and when you want to eat something delicious but fast, you can.
I use fresh pasta for this. Dried pasta has a lower glycaemic index, but there is no greater lie in all the world, than the cooking times advertised on the front of dried pasta packets.
Although chestnuts make it festive, you could cook this at any time of year and if you were to do some prep before hand (not that you really need to) you’d have this on your plate in minutes. It’s a great thing to throw together for friends who you weren’t expecting to stay to lunch/dinner, or when you fancy something really flavoursome and delicate. It’s so much better than you think it’s going to be.
Adapted from Delicious magazine.
Serves 4 for moderate appetites, two if you’re greedy pigs.
Ingredients
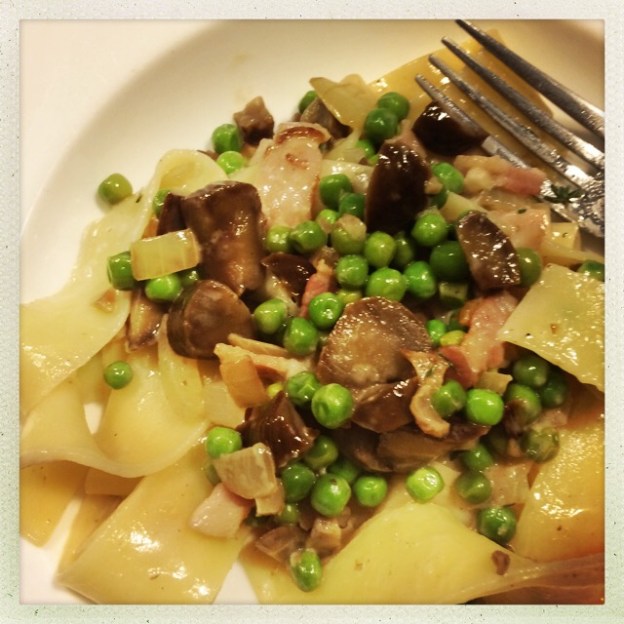
300g fresh pappardelle pasta – fret not you can also use tagliatelle or spaghetti or really, let’s face it, any pasta. But pappardelle is a great shape for this recipe. And using fresh just makes the whole thing faster and easier.
1 tablespoon of olive oil (not virgin)
1 onion, finely chopped
200g ready cooked chestnuts, roughly chopped
A few sprigs of fresh thyme, leaves taken off the woody stems
100g thinly sliced bacon, not too much fat on
a garlic clove, finely chopped
200g frozen petit pois. Make sure they are petit pois and not normal peas and you cook from frozen
a jar of 20cl Isigny Creme Fraiche any other creme fraiche would do but I really love this one and the glass jars make great little storage pots, not least, they perfectly hold one cupcake.
Method
If you are using dried pasta, put it on to cook now because we know those cooking times are all damned lies. If using fresh pasta, don’t put it on yet but have a pan of water boiling away in the background.
Heat the oil in a large frying pan (at the end everything will end up in it) and fry the onion for a few minutes until soft. Add the bacon strips and fry for 5 mins, then add the garlic, chestnuts, petits pois and thyme.
(Put the fresh pasta on to boil for the 3-4 minutes it needs.)
Fry for a further 3-4 minutes. Drain the pasta then stir the creme fraiche through the stuff in the frying pan and finally add the pasta. Season with salt and pepper and serve.